
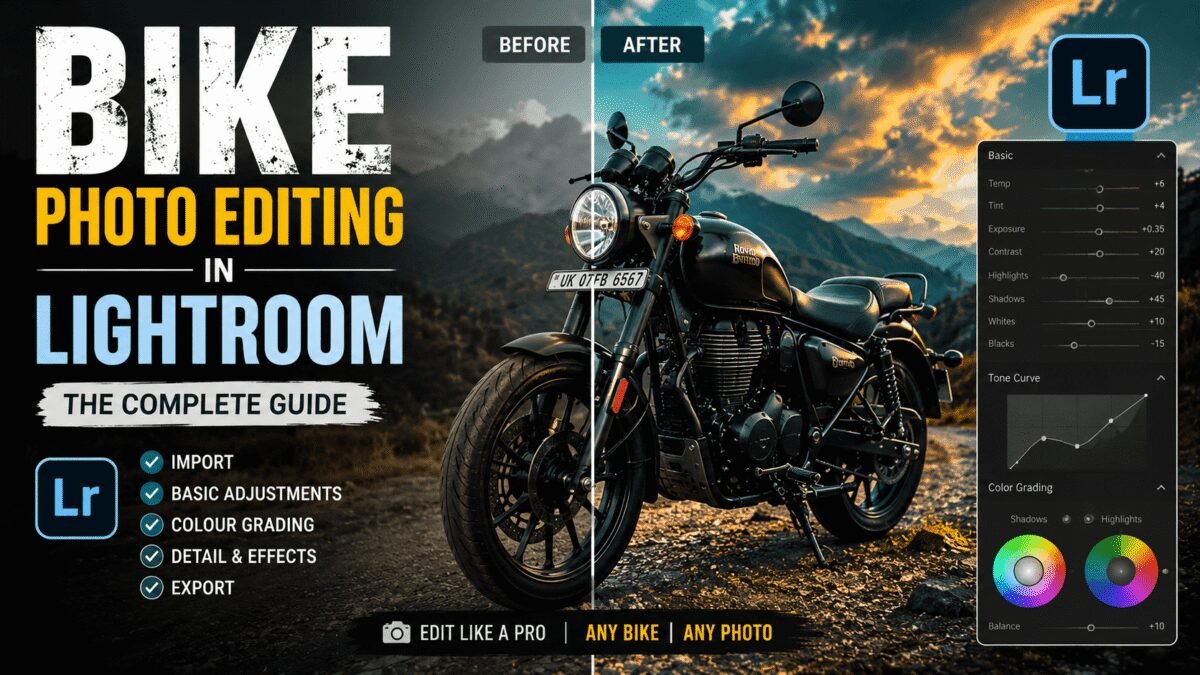
Good bike photos aren’t just shot well — they’re edited well. This guide covers bike photo editing in Lightroom Mobile from start to finish: the fast one-tap preset route, the manual settings if you want control, how to shoot photos that edit beautifully, and the mistakes that ruin most beginner edits.
The Fast Route: One-Tap Preset
If you just want the viral cinematic look now, install the free [Haryana DC Bike preset] — import the DNG, save it as a preset, apply. Sixty seconds and you’re done. Most people start here.
The Manual Route: Understanding Each Panel
Want full control? Here’s what actually matters for bike photos:
- Light: Contrast +30, Highlights −45 (kills tank/chrome glare), Shadows −20 (moody depth), Blacks −15.
- Colour: Temperature −8 (cool, cinematic), Vibrance +10, Saturation −5.
- Colour Mixer: the green shift — Green Hue −15, Saturation −15, Luminance −25.
- Effects: Texture +15, Clarity +12, Dehaze +6, subtle vignette −12.
- Detail: Sharpening +25 with Masking +40 (sharpens the bike, not the sky).
How to Shoot Bike Photos That Edit Well
- Location: greenery in frame — the grade needs it
- Light: golden hour or overcast; avoid harsh noon
- Angle: low front three-quarter is the classic poster shot
- Expose slightly dark: easier to lift shadows than recover blown highlights
- Shoot the original clean: never pre-apply an Instagram filter
Common Mistakes
Editing WhatsApp-compressed images (artefacts get amplified) Sharpening with Masking at 0 (sharpens noisy sky) Stacking too many effects (kills the cinematic feel) Preset Amount always at 100% (lower it on green-heavy shots).
Take It Further
The complete pack, both preset variants, and the matching Reels LUT are on the [Haryana DC Bike Preset guide]. For editing without Lightroom, see our Snapseed QR version.
FAQ
Do I need paid Lightroom?
No, the free mobile app is enough.
Best format to edit?
The original camera file, highest resolution.
Can beginners do this?
Yes — start with the one-tap preset, learn the manual settings later.