The Haryana DC Job bike preset is where this whole viral trend began. Before the AI officer portraits, before the Gemini prompts, there was one look taking over Instagram and Pinterest: ordinary motorcycle photos transformed into moody, cinematic frames — deep green tones, dark filmic shadows, and a bike that pops off the screen like a movie poster.
")
On this page you get the complete package: the free DNG preset download for Lightroom Mobile (plus XMP for desktop), the exact slider-by-slider recipe behind the look so you can customise it, a 60-second install guide, photography tips for shooting bike photos that grade beautifully, and a matching LUT for your Reels.
[⬇ Download Haryana DC Bike Preset — Free DNG]
👉 Button links directly to the DNG file (or the file’s download block further down the page — see implementation notes).
HOW TO CREATE THE ACTUAL DNG FILES – Haryana DC Job bike preset
Pick one of your best bike photos (or shoot one — greenery in frame).
Open it in Lightroom Mobile and apply every value from the “Exact Settings” section above.
Tap ⋮ → Export As → format DNG. That exported file IS the preset — anyone who imports it can extract your settings.
Name it haryana-dc-bike-01.dng. Repeat with the Bike 02 variation (Blacks −25, Shadows −35, Dehaze +10) → haryana-dc-bike-02.dng.
For XMP: apply the same settings in Lightroom desktop → right-click the preset → Export.
For the LUT: if you don’t have LUT-export tooling, ship v1 with DNG+XMP only and remove the LUT row until it exists.
Never list a file you don’t have. Zip everything, upload via WordPress Media (or a /downloads/ folder), and wire the two download buttons to it.
What Is the Haryana DC Job Bike Preset?
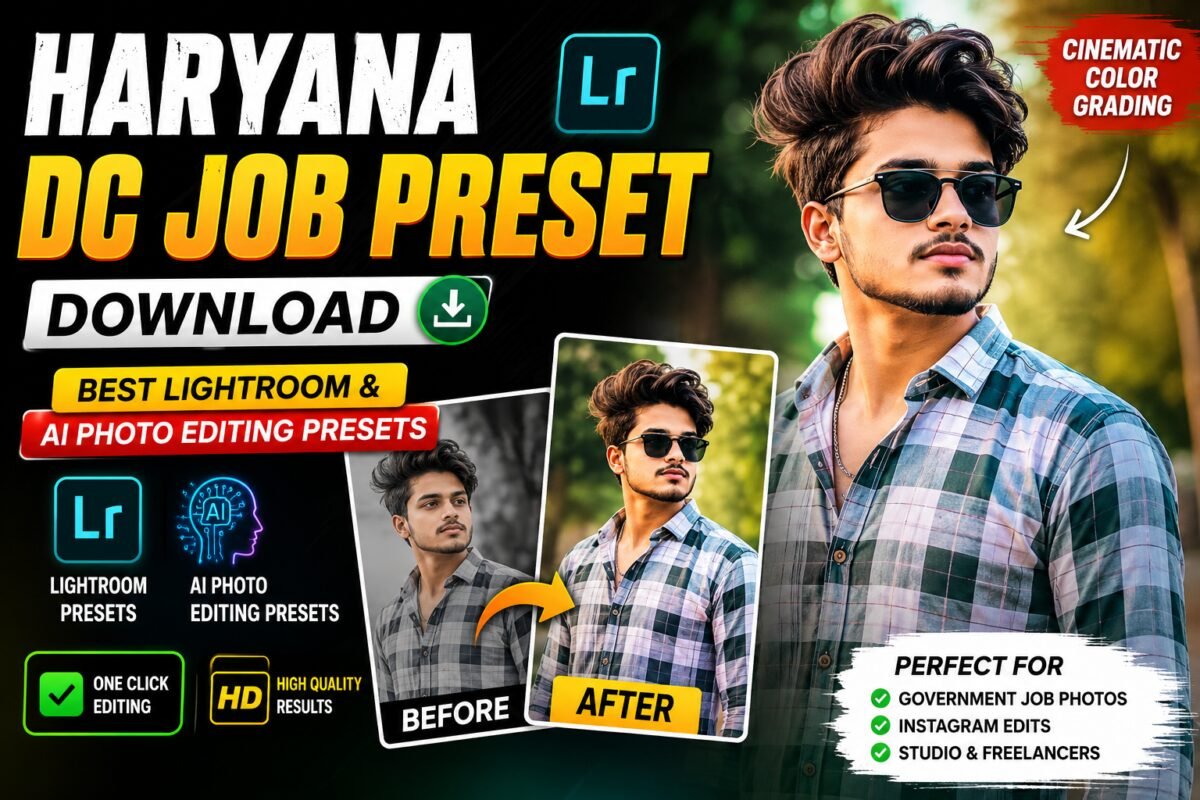
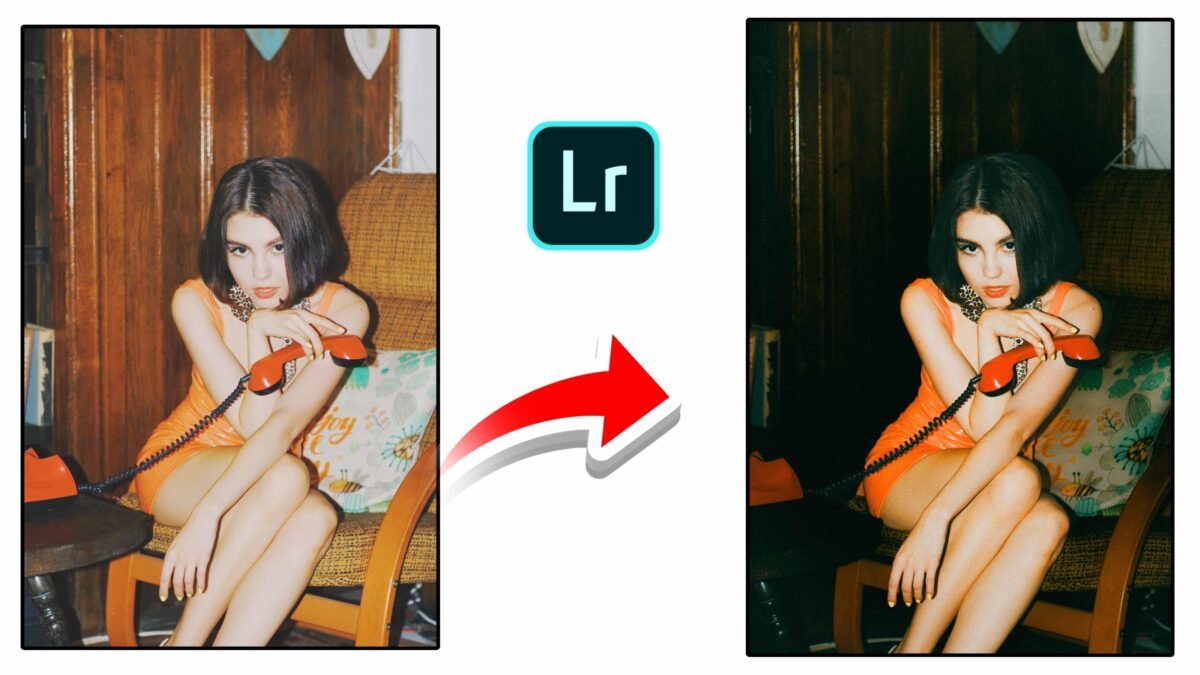
If you’ve seen bike Reels captioned “search Haryana DC Job bike preset on Google”, this is the exact look they’re using. It’s a cinematic colour grade — not an AI edit — defined by four signature moves:
- Green-shifted colour tone. Background greenery (trees, fields, roadside grass) is pushed toward a dark, teal-leaning cinematic green instead of bright natural green. This single adjustment is what makes the edit instantly recognisable.
- Strong contrast with crushed shadows. Shadows go deep and moody while the bike and rider stay clearly defined — the “movie still” depth that flat phone photos never have straight out of camera.
- Cool white balance. A slight shift toward blue keeps the whole frame feeling cinematic rather than warm and casual.
- Boosted clarity on the subject. Extra texture and sharpening make the motorcycle’s bodywork, chrome and tyres look crisp and premium.
Because it’s a DNG preset, the entire recipe applies to your own photo with one tap in the free version of Lightroom Mobile — no paid subscription, no third-party app, no watermark.
Free Download — Haryana DC Bike Preset Pack
Here’s what’s inside the pack on this page:
| File | Format | Works In |
|---|---|---|
| Haryana DC Job bike preset 01 (Classic Green) | DNG | Lightroom Mobile (free) |
| Haryana DC Job bike preset 02 (Dark Road) | DNG | Lightroom Mobile (free) |
| Haryana DC Bike 01–02 | XMP | Lightroom desktop / Classic |
| Haryana DC Job bike preset Reels Grade | .cube LUT | CapCut, VN, Premiere |
All files are free. No sign-up, no shortened links, no “wait 30 seconds” pages. If a download ever fails, tell us in the comments and we’ll fix it the same day.
👉 The two-variant structure (Classic Green + Dark Road) is deliberate: it makes your pack objectively richer than a single-file competitor post, and each variant name becomes an image caption keyword. Create both DNGs from the recipes in the next section — Bike 02 is the same recipe with Blacks −25, Shadows −35 and Dehaze +10.
The Exact Settings Behind the Haryana DC Job bike preset (Full Recipe)
Most preset sites give you a file and nothing else. We’d rather you understand the look — because once you know the recipe, you can adapt it to any photo instead of hoping the one-tap version fits. Open any bike photo in Lightroom and build along:
Light Panel
- Exposure: 0 to −0.3 (the look sits slightly dark)
- Contrast: +30
- Highlights: −45 (recovers sky and headlight glare)
- Shadows: −20 (this creates the moody depth — resist the urge to lift them)
- Whites: +10
- Blacks: −15
Colour Panel
- Temperature: −8 (cool shift)
- Tint: −5 (toward green)
- Vibrance: +10, Saturation: −5 (rich but not cartoonish)
Colour Mixer (HSL) — the signature move
- Green: Hue −15 (toward teal), Saturation −15, Luminance −25
- Yellow: Hue +10 (pushes roadside yellows toward green), Saturation −10, Luminance −15
- Blue: Saturation −10, Luminance −10 (calms the sky so the bike leads)
- Orange: Saturation +5, Luminance +5 (keeps skin tones natural if the rider is in frame)
Effects Panel
- Texture: +15
- Clarity: +12
- Dehaze: +6
- Vignette: −12 (subtle — pulls the eye to the bike)
Detail Panel
- Sharpening: +25, Masking +40 (sharpens the bike, not the sky noise)
- Noise reduction: +10 for evening shots, 0 for daylight
That’s the entire look. Save it via ⋮ → Create Preset, and you’ve just built the Haryana DC bike preset yourself — or skip the work and grab our ready-made DNG above.
How to Install the DNG Preset in Lightroom Mobile (60 Seconds) – Haryana DC Job bike preset
- Download the DNG file from this page — it saves like a normal photo file.
- Open Lightroom Mobile (free version) → tap Add Photos → import the DNG. It appears as a dark bike image; that’s normal — the file carries the settings.
- Open the imported image → tap the three-dot menu (⋮) top-right → Create Preset.
- Name it “Haryana DC Bike 01”, create a preset group called “Haryana DC”, and save.
- Open your own bike photo → scroll the bottom toolbar to Presets → find your new group → tap to apply.
Desktop (XMP): Lightroom Classic → Develop module → Presets panel → + → Import Presets → select the XMP files. Same look, bigger screen.
After applying, always fine-tune two sliders: Exposure (every photo’s lighting is different) and Temperature (evening shots may need +3–5 warmth back). A preset is a starting grade, not a finish line — the 20 seconds of adjustment is what separates your edit from every other one-tap copy on Instagram.
How to Shoot Bike Photos That Grade Perfectly – Haryana DC Job bike preset
The preset amplifies what’s already in the frame, so give it the right raw material:
Location: the green-shift needs green. Tree-lined roads, fields, hill routes and roadside grass grade spectacularly; concrete flyovers and grey parking lots leave the preset with nothing to work on.
Time of day: overcast light and the hour before sunset are ideal — soft, even light with no harsh highlights to clip. Harsh noon sun creates blown-out tanks and helmets that even Highlights −45 can’t fully rescue.
Angles that work: low front three-quarter angle (the classic poster shot), rider-on-bike side profile with road stretching behind, and close detail shots of the tank or headlight for carousel posts.
Phone settings: shoot in the highest resolution available, tap-to-focus on the bike, and pull exposure down slightly before shooting — it’s far easier to lift shadows in Lightroom than to recover blown highlights.
Keep the original clean: never apply an Instagram filter before the preset. Double-grading is the #1 reason edits come out muddy.
Match Your Reels — The Bike LUT for CapCut & VN
Photos are only half the trend. The pack includes the same grade as a .cube LUT so your video clips match your photos exactly:
- CapCut: open your project → Adjust → LUT → Import → select the .cube file → set intensity to 70–85%.
- VN Editor: Filter → Custom LUT → import → adjust strength.
One consistent look across your posts and Reels is what makes a profile feel professional — and it’s exactly how the biggest bike pages in this trend built their followings.
Common Mistakes Haryana DC Job bike preset That Ruin This Edit
- Intensity always at 100%. On photos with heavy greenery, the full preset can look radioactive. Lightroom Mobile lets you adjust preset Amount — 70–85% is often the sweet spot.
- Applying it to night photos. This grade is built for daylight and golden hour. For night bike shots, use our [Night Flash Edit preset] instead — different recipe entirely.
- Skipping the masking slider on sharpening. Sharpening at +25 with Masking at 0 sharpens sky grain and looks noisy. Keep Masking at +40.
- Editing screenshots or WhatsApp-compressed images. Compression artefacts get amplified by clarity and texture. Always edit the original camera file.
- Forgetting skin tones. If the rider’s face is in frame and looks grey-green, nudge Orange Luminance +5 to +10 — the preset already protects skin, but every photo differs.
Haryana DC Bike Preset vs the AI Prompt Version
Quick decision guide, since both live under the same trend name:
- This preset keeps your real photo — your actual bike, your actual location — and changes only the colour mood. Choose it when the photo itself is good.
- The [Haryana DC Job AI prompt] version rebuilds the whole scene around your face — office, blazer, flag. It’s a different output for a different purpose (DP photos and portrait posts, not bike content).
- Both together: some creators generate an AI “officer + bike” hybrid portrait, then run it through this DNG for final colour. If you try it, generate first, grade second.
FAQ — Haryana DC Job Bike Preset
Is the Haryana DC bike preset really free?
Yes — the DNG, XMP and LUT files on this page are free with no sign-up. We never use link shorteners or timer pages.
Does it work in free Lightroom Mobile?
Yes. DNG preset import uses only free features. No premium subscription is needed.
Which is the original Haryana DC bike preset?
There’s no single verified original — the look emerged across many creators’ Reels and Pins in late 2025, each publishing their own version. Ours is built to match the classic viral grade, and the full settings are published above so you can verify or adjust every slider.
Can I use it on car or scooter photos?
Absolutely — the grade works on any vehicle or outdoor subject with greenery in the frame. It’s a colour recipe, not a bike-detector.
Why does my edit look too green?
Either the photo is extremely greenery-heavy (lower the preset Amount to ~75%) or a filter was already applied before the Haryana DC Job bike preset (re-edit from the original file).
iPhone or Android — any difference?
None. Lightroom Mobile handles DNG presets identically on both.