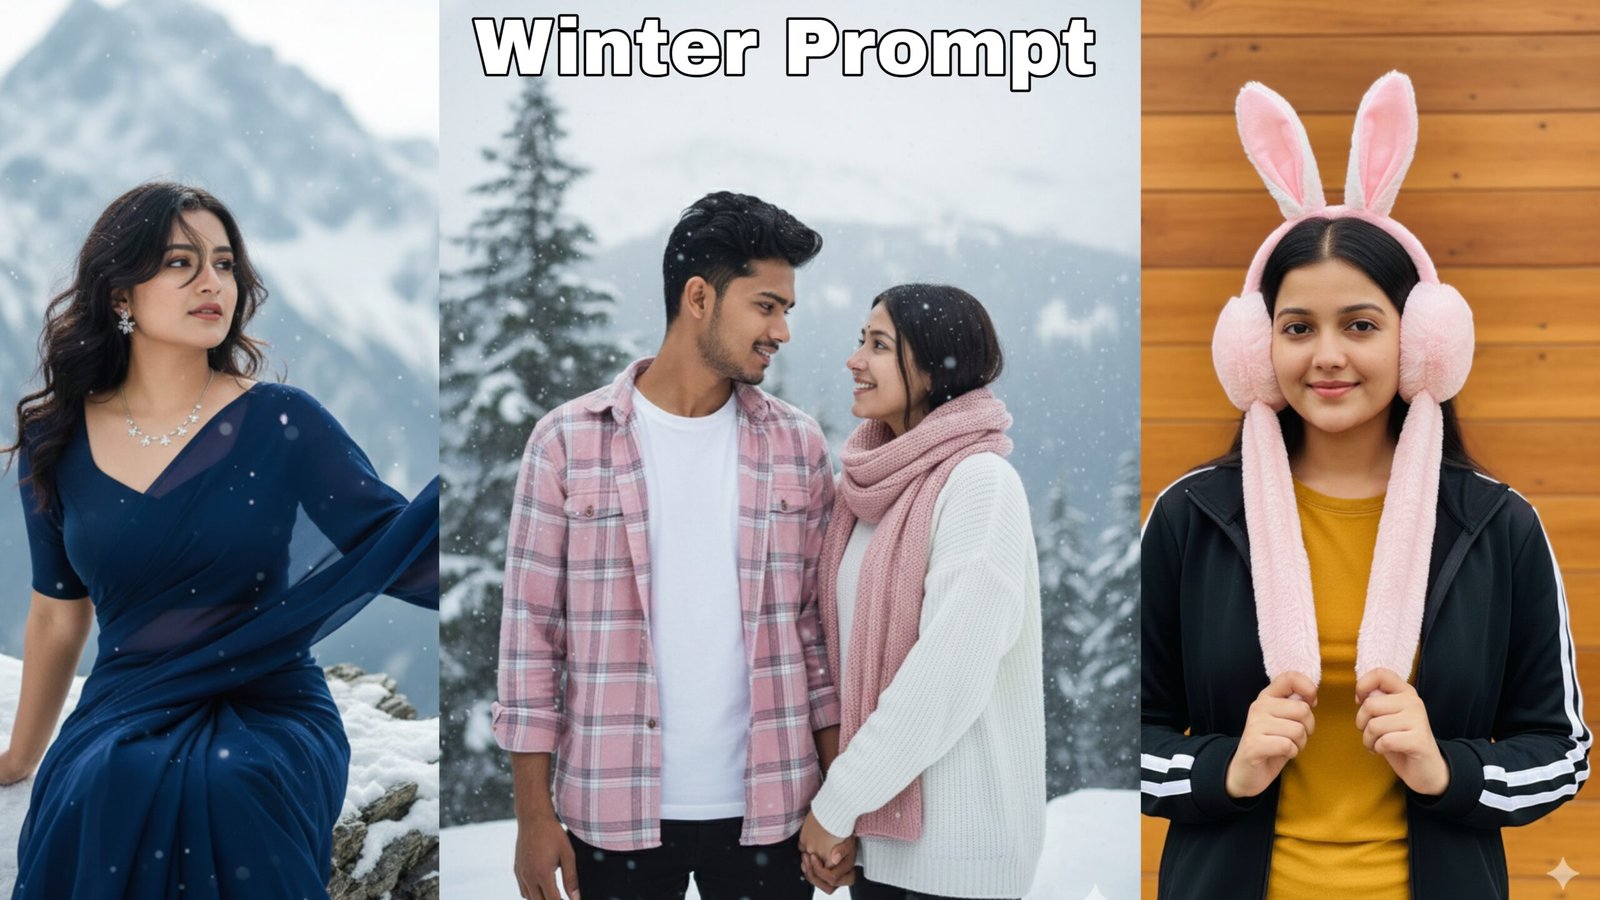
Winter Photo Editing – Full 1200 Words Guide for Stunning Snowy Images
Winter photo editing has become one of the most creative and trending styles on social media platforms like Instagram, YouTube, Pinterest, and Facebook. From cool blue tones to realistic snowfall overlays, winter editing brings a fresh and dreamy vibe to any photograph. Whether you’re a beginner photographer or a digital creator, learning how to edit winter photos professionally can completely transform your content game. In this in-depth 1200-word guide, we will explore all the tools, settings, techniques, effects, and tips required to create the perfect winter-themed edits.
Why Winter Photo Editing Is So Popular?
Winter photos naturally tell a story. Snowy backgrounds, foggy mornings, cold color tones, and soft lighting instantly make any picture look cinematic. Content creators prefer winter editing because it enhances mood, adds depth, and makes images more engaging. Moreover, winter-themed content performs extremely well during December to February, when people search for “snow edit”, “winter vibes”, and “cold tone presets”. The demand for winter editing tutorials, reels, and presets increases every year, making this style evergreen.
Best Apps and Software for Winter Photo Editing
1. Adobe Lightroom
Lightroom is the most powerful tool for color grading winter photos. Its temperature, tint, HSL, and tone curve controls allow you to create soft, cold, and dreamy effects. With presets, you can instantly convert warm photos into winter-style images. Many professionals use Lightroom for both mobile and desktop, making it ideal for creators at any skill level.
2. Adobe Photoshop
Photoshop is best for adding advanced winter effects such as snowfall overlays, mist layers, fog brushes, and background manipulation. If you want ultra-realistic winter portraits or fantasy-style edits, Photoshop gives you the highest control and flexibility.
3. PicsArt
PicsArt is the easiest app for beginners. It offers ready-made snow overlays, winter filters, decals, and stickers. You can create a professional winter edit in minutes without knowing advanced editing techniques. The Snowy Effect Pack is especially popular among Instagram reel creators.
4. Snapseed
Snapseed is great for selective editing, tonal adjustments, and enhancing winter landscapes. Tools like “Brush”, “Details”, and “Curves” help refine images and bring out natural winter atmosphere in a clean, simple way.
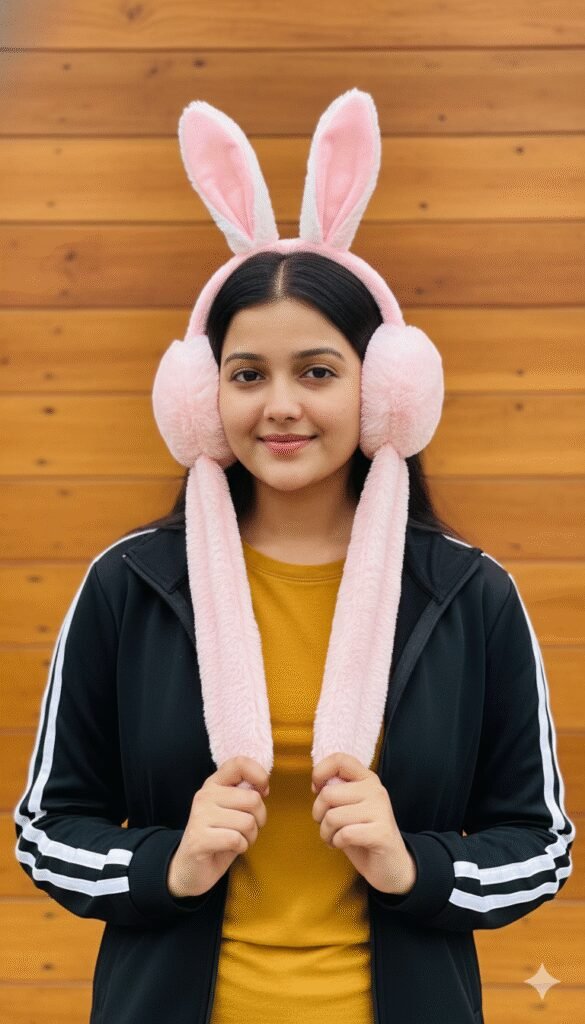
A young woman with dark hair and a yellow shirt, wearing a black jacket with white stripes on the sleeves, stands against a wooden wall. She is wearing fluffy, soft pink earmuffs with bunny ears and long flaps that hang down. She is holding the ends of the flaps in her hands.look realistic. Same face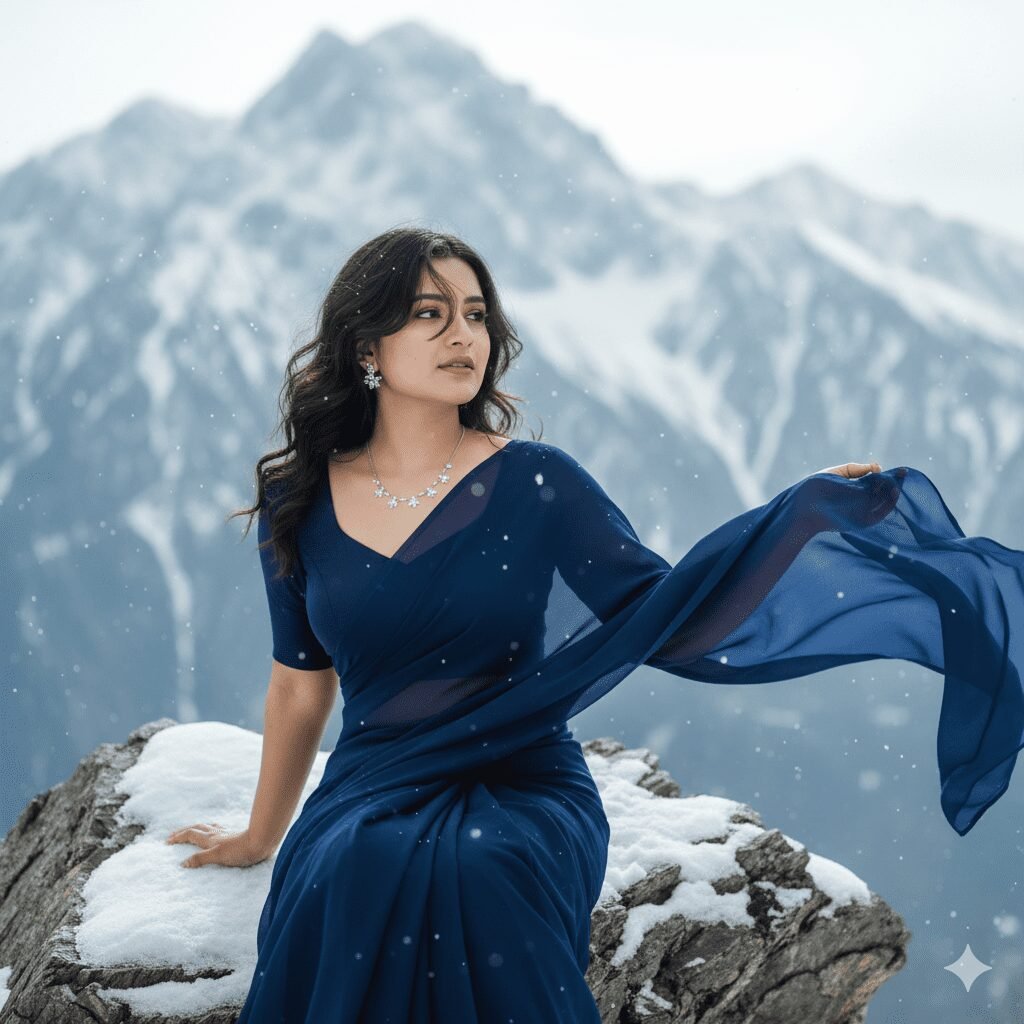
Generate a 8k photo-realistic image of a young woman in a graceful pose. She is wearing a dark blue chiffon saree that is flowing gently in the wind. She is wearing same colour blouse. Sitting on a snow-covered rock with a majestic, snow-capped mountain range in the background and it is little snowing also. Her hair is slightly windblown, and she is looking in front right side, giving the scene a serene and ethereal feel. Give a close up photo of face The Lighting should be bright.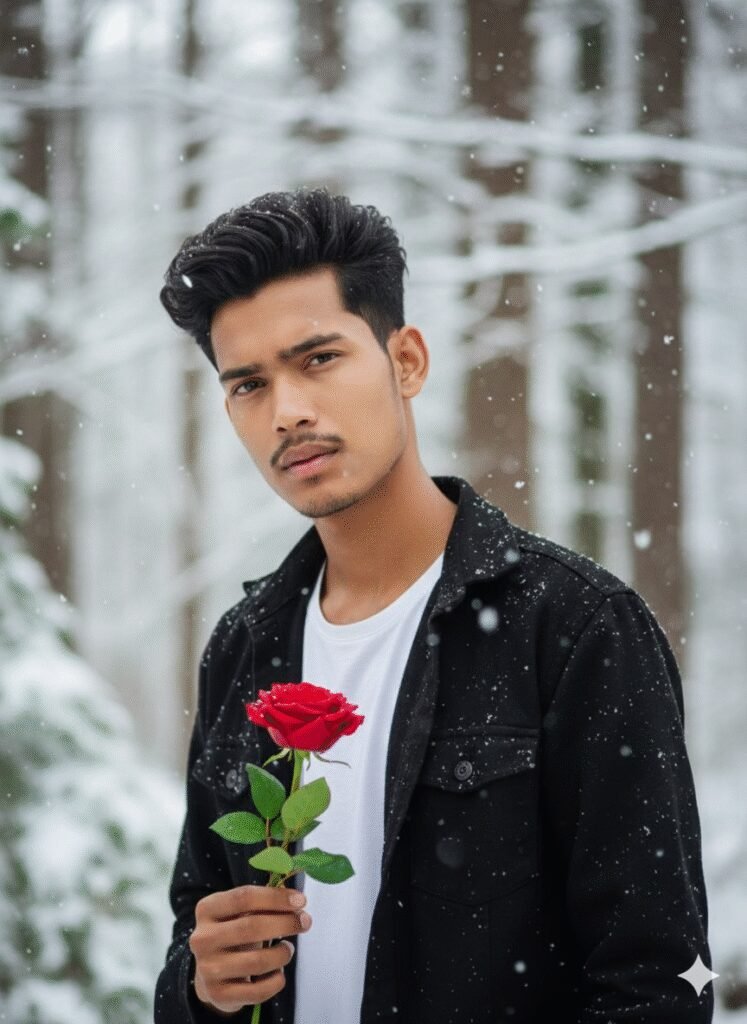
Create a hyper-realistic DSLR portrait of a handsome young man with sharp, thick hair (using 100% of my face reference image), also wearing a black button-up jacket over a white t-shirt, holding a red rose, against a blurry snow background. Additionally, snow falling on trees and leaves, realistic textures, and a sophisticated editorial aesthetic.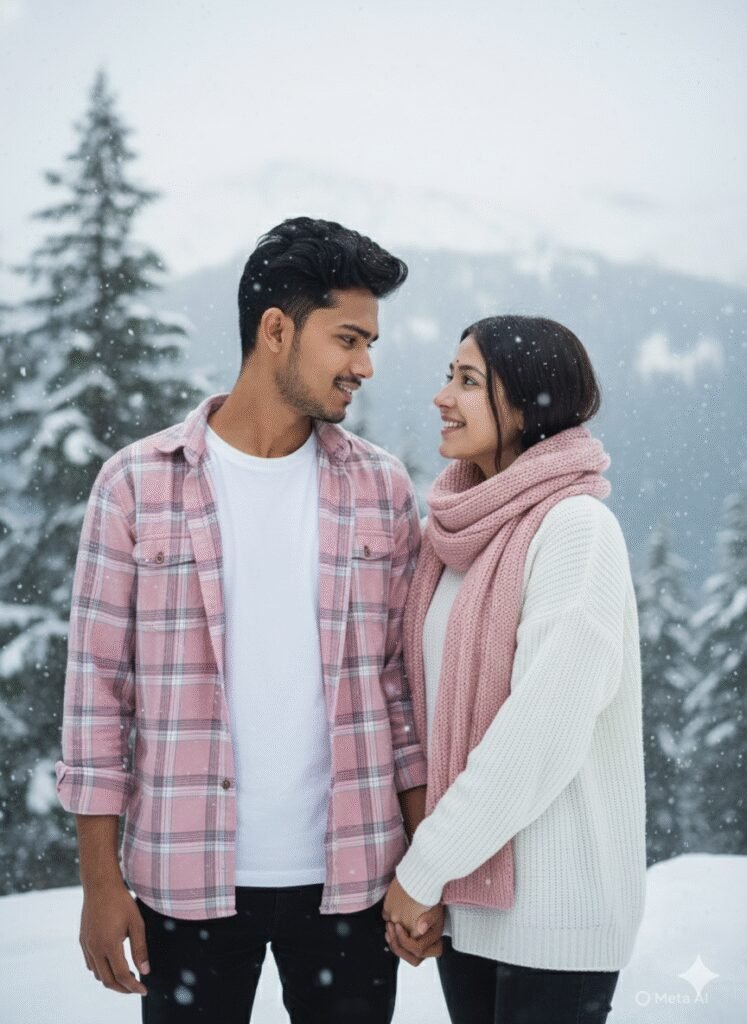
Create a 4K HD realistic portrait of a young Indian couple standing together in Kashmir under gentle snowfall. The scene should look natural and full of emotion. Furthermore, make sure both faces remain exactly the same as in the uploaded photos, without any alteration or change. The boy, with messy dark hair and a sharp jawline, is wearing a pink checkered shirt over a white T-shirt with black pants. Meanwhile, the girl has soft features, long black hair, and is dressed in a cozy white sweater with a pastel pink scarf. In addition, the background should appear cool, bright, and romantic, filled with soft white snowflakes that create a dreamy winter atmosphere. Therefore, the final portrait should capture warmth, love, and realism together in a perfect 4K HD quality frame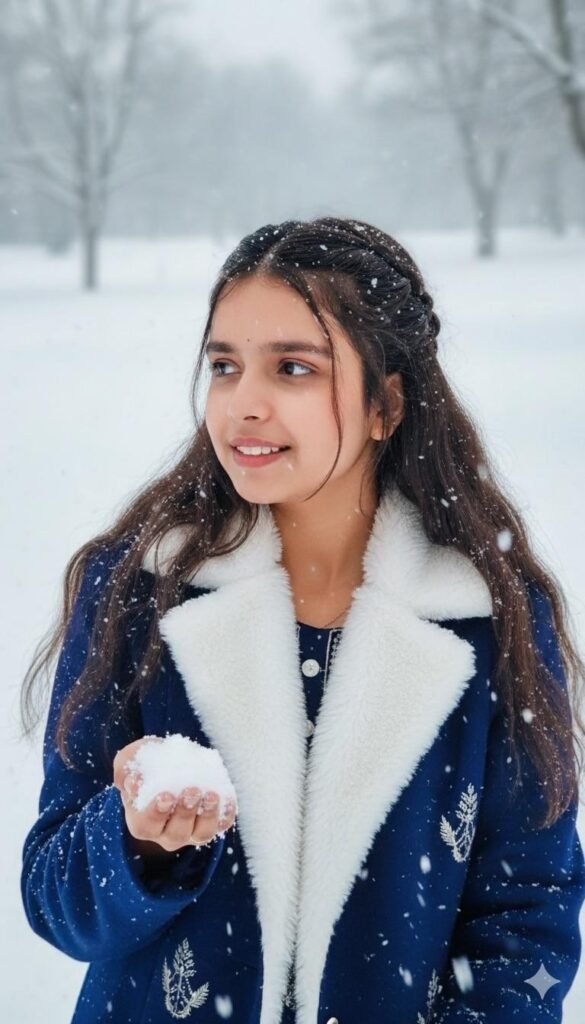
Buatkan foto seorang wanita muda cantik berdiri di luar ruangan di tengah hujan salju, mengenakan mantel musim dingin putih lembut, syal abu-abu muda, sarung tangan abu-abu, dan baret abu-abu muda. la berambut cokelat panjang dan berdandan natural, tampak terkejut dan dengan lembut meniup kepingan salju dari tangannya yang bersarung tangan.How to Create the Perfect Winter Effect – Step-by-Step
1. Adjust the Temperature
Winter images look best with cool blue tones. Lower the temperature slider towards the blue side to replicate cold weather. This creates the foundation of winter color grading. Avoid over-cooling the image—keeping the skin tone natural is important for portrait winter edits.
2. Work on Highlights and Whites
Snow reflects light, so increasing highlights and whites gives a realistic shine. It also adds dimension to snow-covered elements like roads, rooftops, and trees. This step enhances the crispness of winter photos.
3. Tone Down the Warmth and Saturation
Winter scenes usually look soft and desaturated. Reduce saturation slightly to avoid overly colorful elements that clash with the winter mood. Keep the greens and yellows low, and enhance blues for a frosty vibe.
4. Add Realistic Snowfall
To create a magical winter scene, adding snow overlays is essential. You can download high-quality snow PNG overlays or use built-in effects in Photoshop or PicsArt. Layer 2–3 snow textures with different opacity levels for a natural 3D snowfall effect. Blur the background snow slightly to add depth.
5. Add Fog or Mist
Fog adds emotion and storytelling to winter photos. Use soft white brushes or gradient tools to create morning fog in the background. Lower the opacity for a balanced, dreamy look. Fog is especially effective in forest or street shots.
6. Adjust Tone Curve for Cinematic Effect
The tone curve is the heart of winter photo editing. Lift the shadows slightly and push the blues in the RGB curve to add a smooth winter contrast. This technique improves mood and gives your image a professional cinematic style.
Advanced Winter Editing Techniques
1. Blue and Cyan HSL Adjustments
For realistic winter tones, enhance the blue and cyan hues. Increase luminance and reduce saturation slightly. This makes the sky, snow, and fog stand out beautifully.
2. Sharpening and Texture
Winter photos often contain detailed textures like snowflakes, jackets, scarves, and leaves. Increasing clarity and sharpening improves detail, but apply carefully—too much clarity can ruin the soft winter vibe.
3. Portrait Retouching for Winter Edits
For winter portraits, skin tones should stay warm against a cold background. Use selective warmth on the face to maintain natural tones. Softening the background while keeping the subject sharp creates a striking winter contrast.
Tips to Make Winter Photos Stand Out
- Use natural light for softer winter ambiance.
- Avoid overediting; winter scenes look best when subtle.
- Use a low-contrast look for dreamy snow edits.
- Combine fog + snow overlays for a cinematic winter aesthetic.
- Experiment with Lightroom presets to speed up workflow.
- Use radial filters to highlight the subject in cold environments.
- Keep blue tones dominant but balanced.
SEO Keywords for Winter Photo Editing
- winter photo editing
- winter presets Lightroom
- snowfall photo editing
- winter color grading tutorial
- fog effect editing
- cold tone editing
- winter aesthetic photography
- Instagram winter edits
Conclusion
Winter photo editing is a powerful and creative way to turn ordinary images into snowy masterpieces. With the right combination of cool tones, snow overlays, fog effects, and professional color grading, you can produce stunning winter visuals for social media or professional photography. Whether you’re a beginner using mobile apps or an advanced editor working with Photoshop, winter editing offers endless possibilities to experiment and enhance your creative skills. By practicing these techniques and using winter-themed presets, you can easily create magical, cinematic, and professional winter photos that stand out everywhere.