If you are passionate about photo editing and want to create eye-catching CB background edits, then this CB Background Photo Editing Tutorial is exactly what you need. CB editing has become one of the most popular styles in the photo editing world — especially among young editors and content creators on platforms like Instagram, YouTube, and Facebook. In this detailed guide, you’ll learn what CB background photo editing is, which apps to use, how to create stunning CB edits step by step, and how to make your photos go viral using professional SEO and social media strategies.
🧠 What is CB Background Photo Editing?
CB Background Photo Editing is a creative editing style where the subject (usually a portrait photo) is placed over a dramatic or stylish background — often featuring cityscapes, mountains, smoky effects, neon lights, or color overlays.
The term “CB” originally came from Chetan Boj, a popular Indian editor who started the CB editing trend. Over time, “CB” became a popular term in the editing community, representing bold, cinematic, and stylish photo edits.
With the rise of AI and mobile editing apps, anyone can now create a CB-style background edit using their phone within minutes.
🎨 Tools and Apps Required for CB Editing
Before we start the CB Background Photo Editing Tutorial, let’s list out the essential tools and apps you’ll need:
- PicsArt – Best for cutting and blending your subject into new backgrounds.
- Snapseed – For color correction, tone adjustments, and enhancing brightness or contrast.
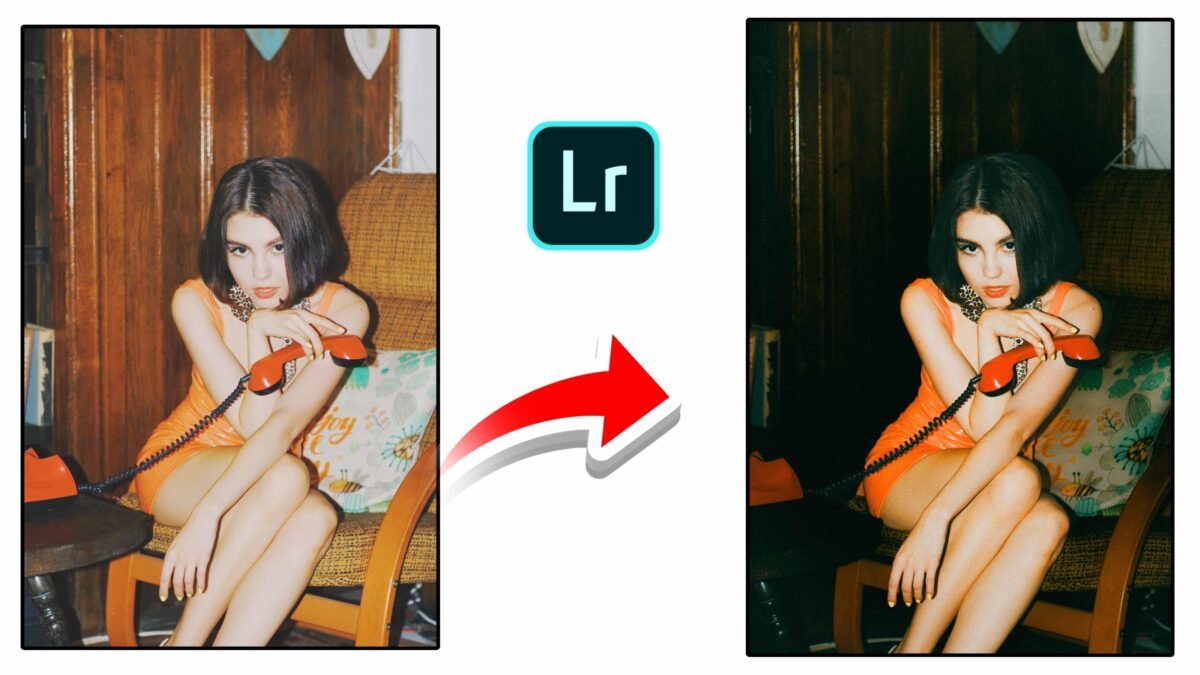
- Lightroom Mobile – For applying cinematic color grading and filters.
- Remove.bg – A free online tool to remove the photo background easily.
- Pixellab or Photoshop Express – For adding text, overlays, and stylish effects.


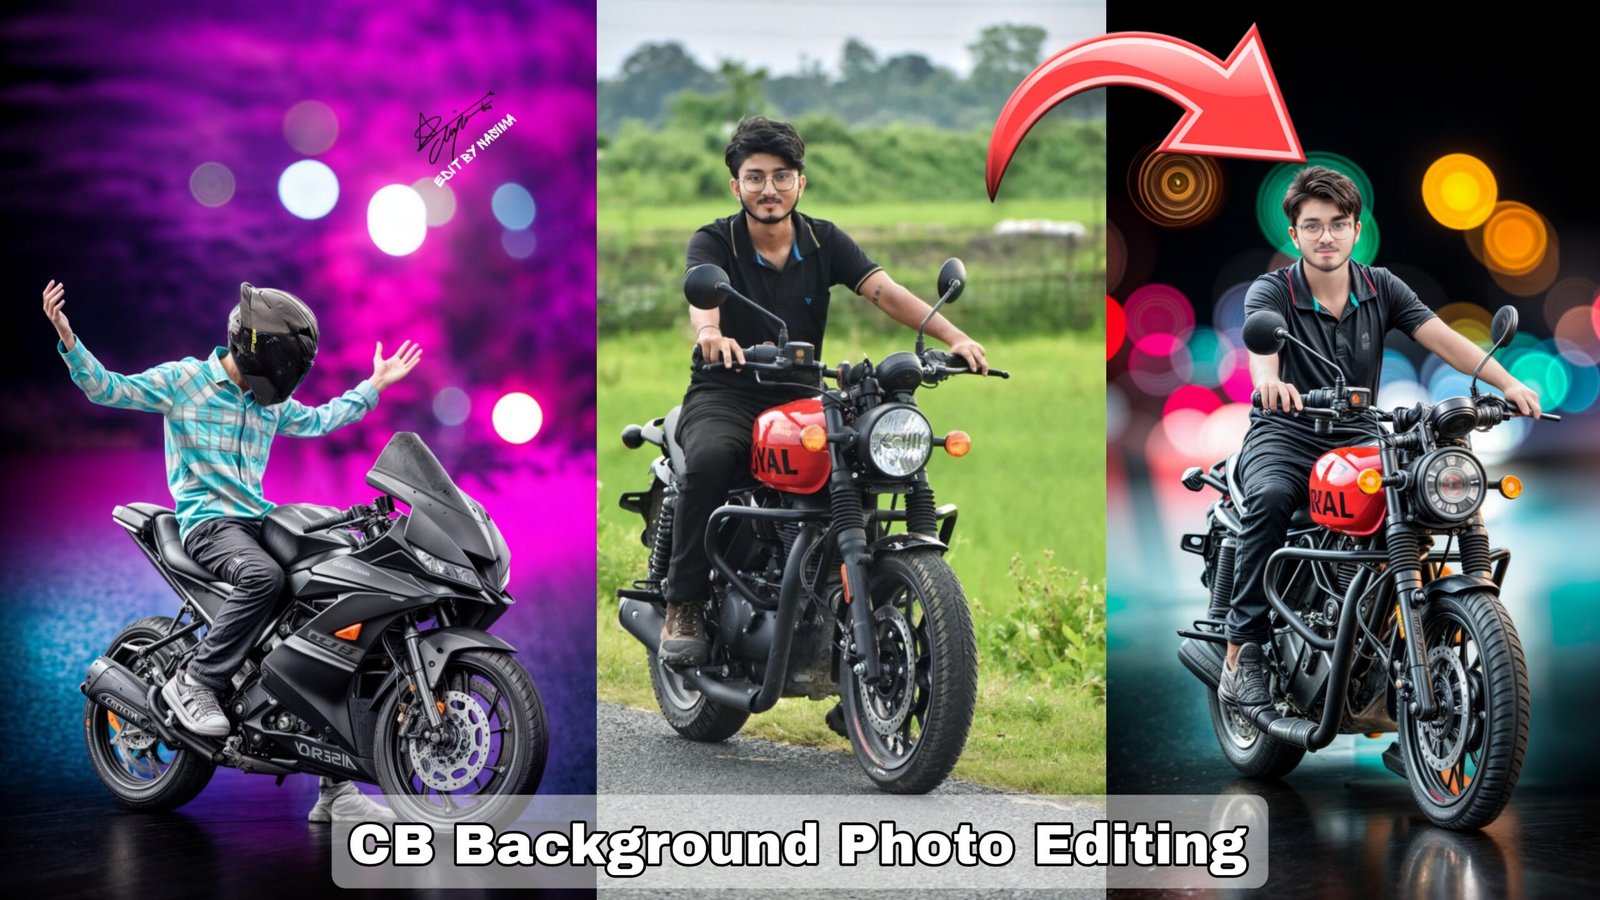
Prompt – Apply the first previous background properly to our photo and do Cb editing without changing the face🔧 Step-by-Step CB Background Photo Editing Tutorial
Let’s move to the main tutorial section and learn how to create your own CB background photo from scratch.
Step 1: Choose the Right Photo
Start by selecting a high-quality portrait photo. Make sure your face and outfit are clearly visible. Avoid blurry or dark photos because clarity plays a big role in final results.
📷 Tip: Try to click the photo in natural daylight with a clean background — it’s easier to edit later.
Step 2: Remove the Background
Use Remove.bg or the “Cutout” tool in PicsArt to remove your photo’s background. Ensure your subject edges are clean and smooth. If needed, zoom in to erase the rough parts manually.
Once done, save the transparent PNG version of your photo.
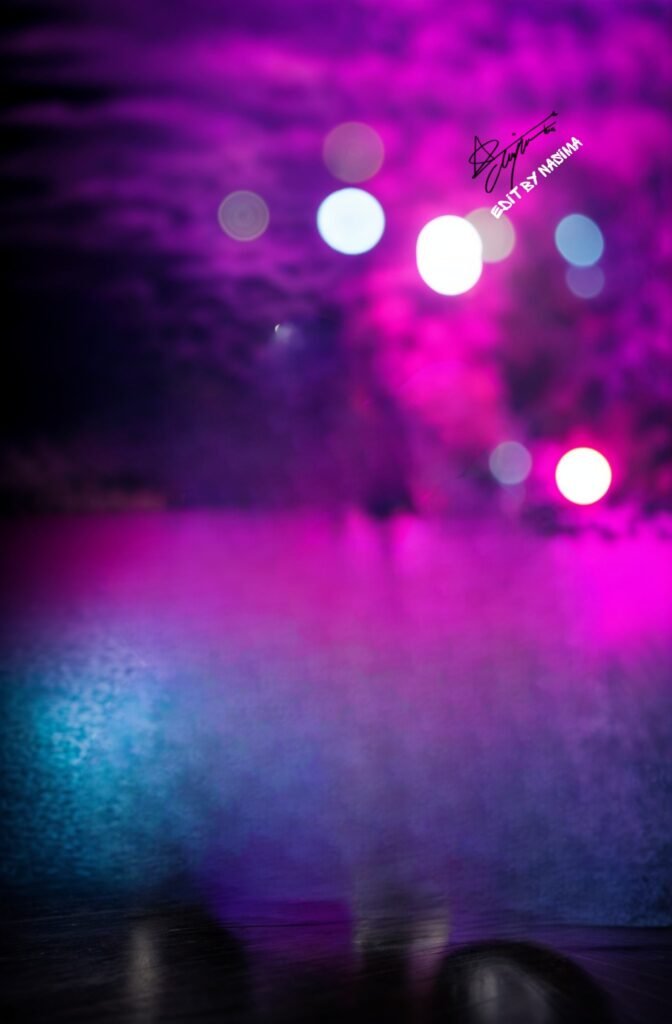
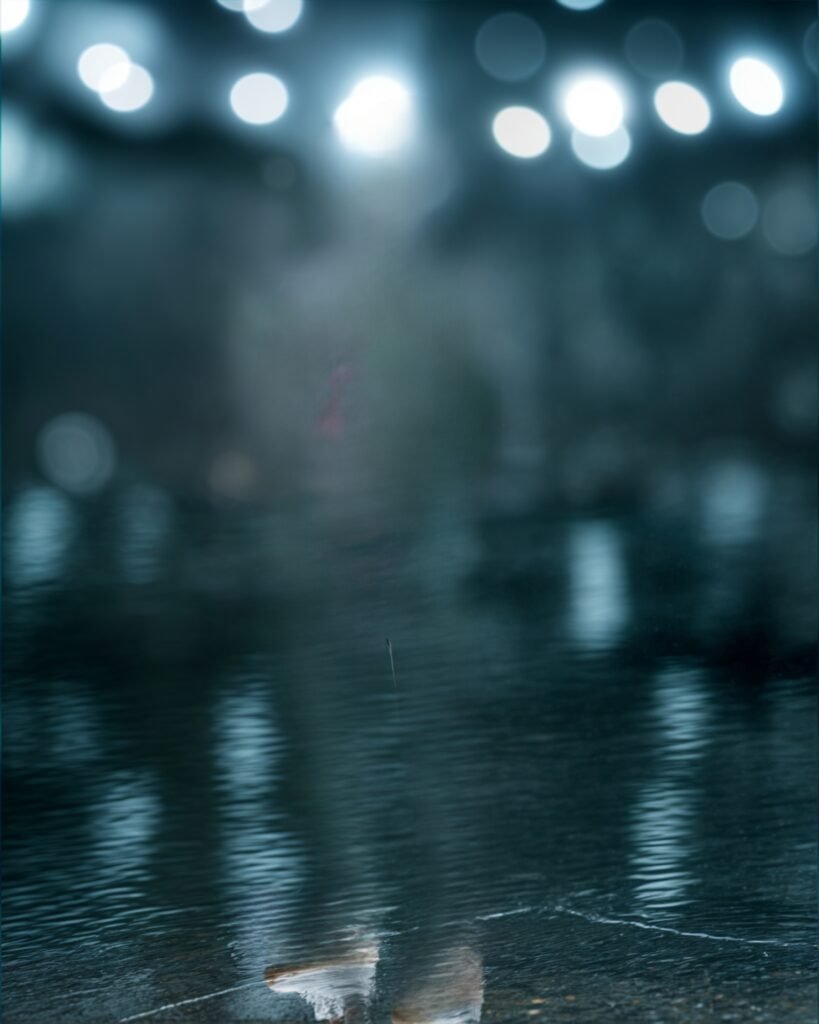
Step 3: Choose a CB Background
Now comes the creative part. Search online for “CB background HD” or “CB background for editing” — you’ll find lots of stylish options like:
- Dark street backgrounds
- Sky and mountain scenes
- Neon light effects
- Abstract smoke and dust textures
Pick a background that matches your outfit and mood. For example, if you’re wearing dark clothes, choose a bright or glowing background to create contrast.
Step 4: Blend Your Subject
Open PicsArt again and import your chosen background. Now add your PNG photo on top of it. Adjust the position and size to make it look realistic.
Then, use tools like:
- Blend mode – to adjust shadows and highlights.
- Eraser tool – to remove unwanted edges.
- Clone tool – to add fake shadows or reflections.
This step gives your edit a professional touch.
Step 5: Color Correction and Effects
Once your image is placed correctly, move to Snapseed or Lightroom Mobile. Apply these basic adjustments:
- Increase brightness and contrast slightly.
- Add vibrance and saturation to make colors pop.
- Use shadows and highlights to balance the lighting.
- Apply color grading filters for a cinematic tone (try teal-orange or red-blue combinations).
You can also add lens blur or bokeh effects to create a DSLR-like depth of field.
Step 6: Add Overlays and PNG Effects
Now, let’s make the edit look even more stylish. Add overlays such as:
- Smoke or dust effects
- Light flares
- Broken glass
- Wings or fire PNGs
- Rain or neon glow effects
These overlays make your CB background photo edit more dramatic and professional.
Step 7: Final Touch-Up
Before saving, zoom in and check details like skin tone, background blending, and edges. If needed, use the healing tool in Snapseed to remove unwanted spots or lines.
Once satisfied, export your final image in high resolution. Congratulations — your CB background photo edit is ready to post!
🧩 Tips to Make Your CB Edits Viral
Editing is only half the job — to get your work noticed, follow these SEO and social media tips:
- Use SEO-Friendly Titles:
Example – “CB Background Photo Editing Tutorial | PicsArt Lightroom Editing | CB Background Editing 2025” - Add Hashtags:
#CBEditing #CBBackground #PhotoEditingTutorial #PicsArtEditing #LightroomPresets #EditingLikePro #AIPhotoEditing #CBStyleEdit - Write a Strong Description:
Include your main keyword “CB Background Photo Editing Tutorial” at least 5–7 times naturally throughout your content. - Engage with Comments:
Ask users to comment “CB EDIT” if they want the background or preset you used. - Use Trending Music:
If you’re posting a video or reel, use trending sounds to increase your chances of going viral.
🧰 Common Mistakes to Avoid in CB Editing
Even experienced editors sometimes make these mistakes. Avoid them to make your edits look pro-level:
- Overusing filters or saturation
- Not matching lighting between subject and background
- Blurry edges or poor cutouts
- Ignoring shadows
- Low-quality export
Remember — the best CB edits always look balanced, clean, and creative.
🚀 Final Thoughts
CB Background Photo Editing is more than just a trend — it’s an art form that allows you to express creativity, style, and confidence through visuals. Whether you’re an aspiring editor, a content creator, or just someone who loves stylish photos, this CB Background Photo Editing Tutorial will help you achieve professional-level results using just your phone.
Keep practicing different backgrounds, lighting styles, and effects. As you improve, try mixing AI tools like Gemini AI, Midjourney, or Firefly to create even more realistic CB-style images.
Now that you know every step — grab your favorite photo, open PicsArt, and start your CB background editing journey today! 💥
🔑 SEO Keywords Used:
CB Background Photo Editing Tutorial, CB Background Editing, CB Editing, CB Background HD, CB Editing PicsArt, Lightroom Mobile Editing, Photo Editing Tutorial 2025, CB Photo Background, AI CB Editing, Stylish CB Photo Editing.
Meta Title: CB Background Photo Editing Tutorial | Step-by-Step PicsArt & Lightroom Guide
Meta Description: Learn how to create professional CB Background Photo Edits using PicsArt, Lightroom, and Snapseed. Full SEO tutorial for viral CB edits 2025.
Tags: #CBBackgroundEditing #CBPhotoEditing #EditingTutorial #AIEditing #PicsArt #Lightroom #Snapseed #CBEdit #CBBackground #PhotoEditingTutorial