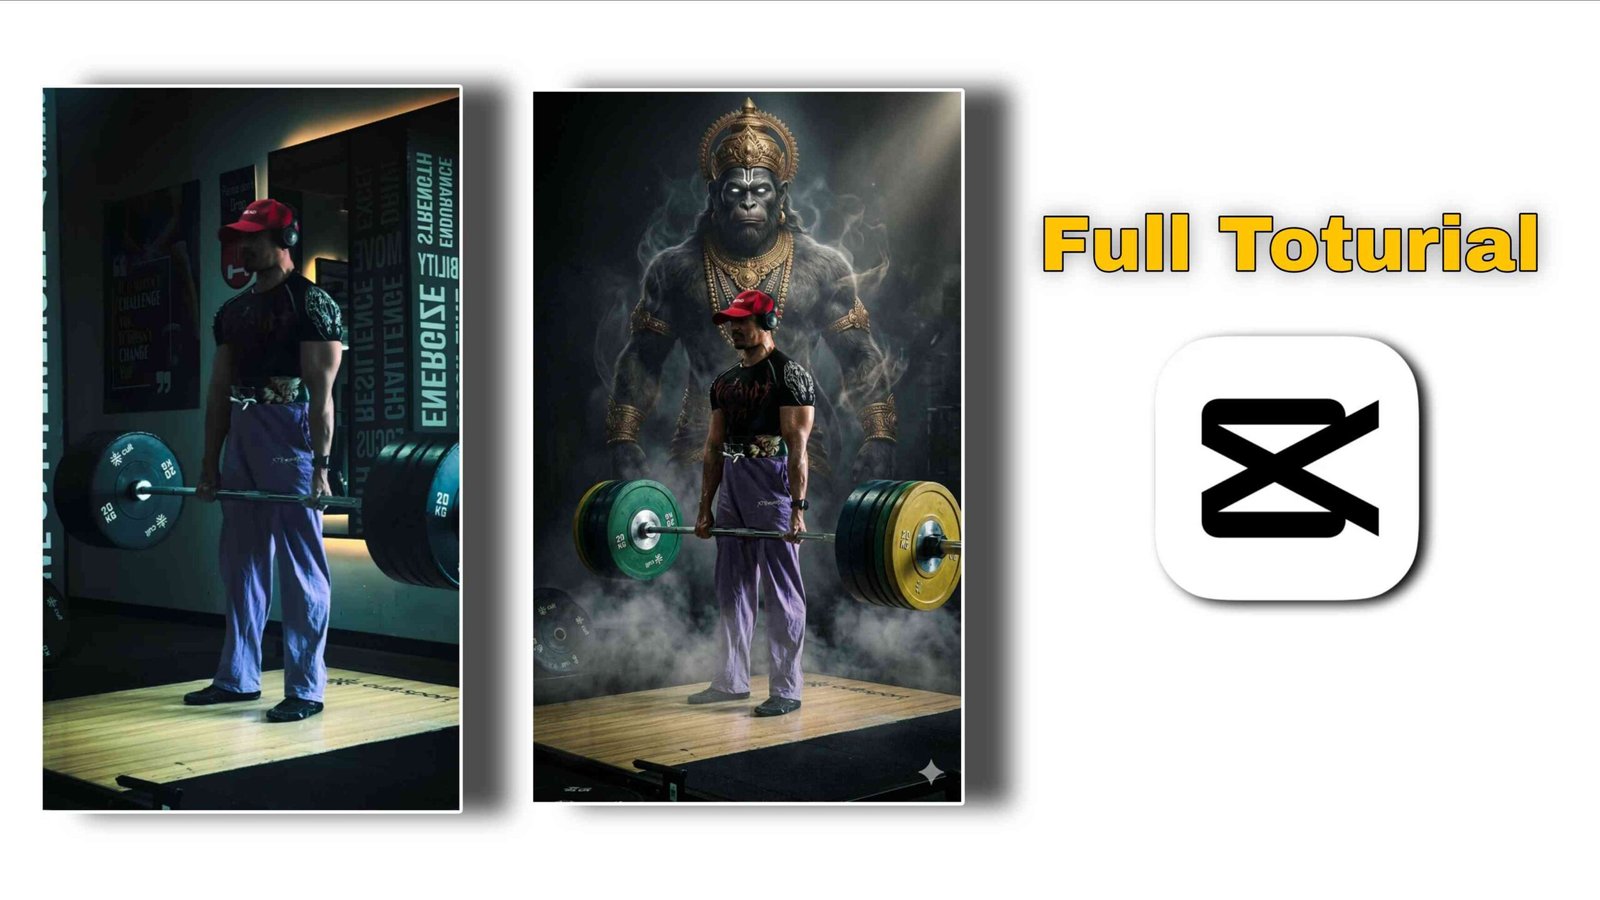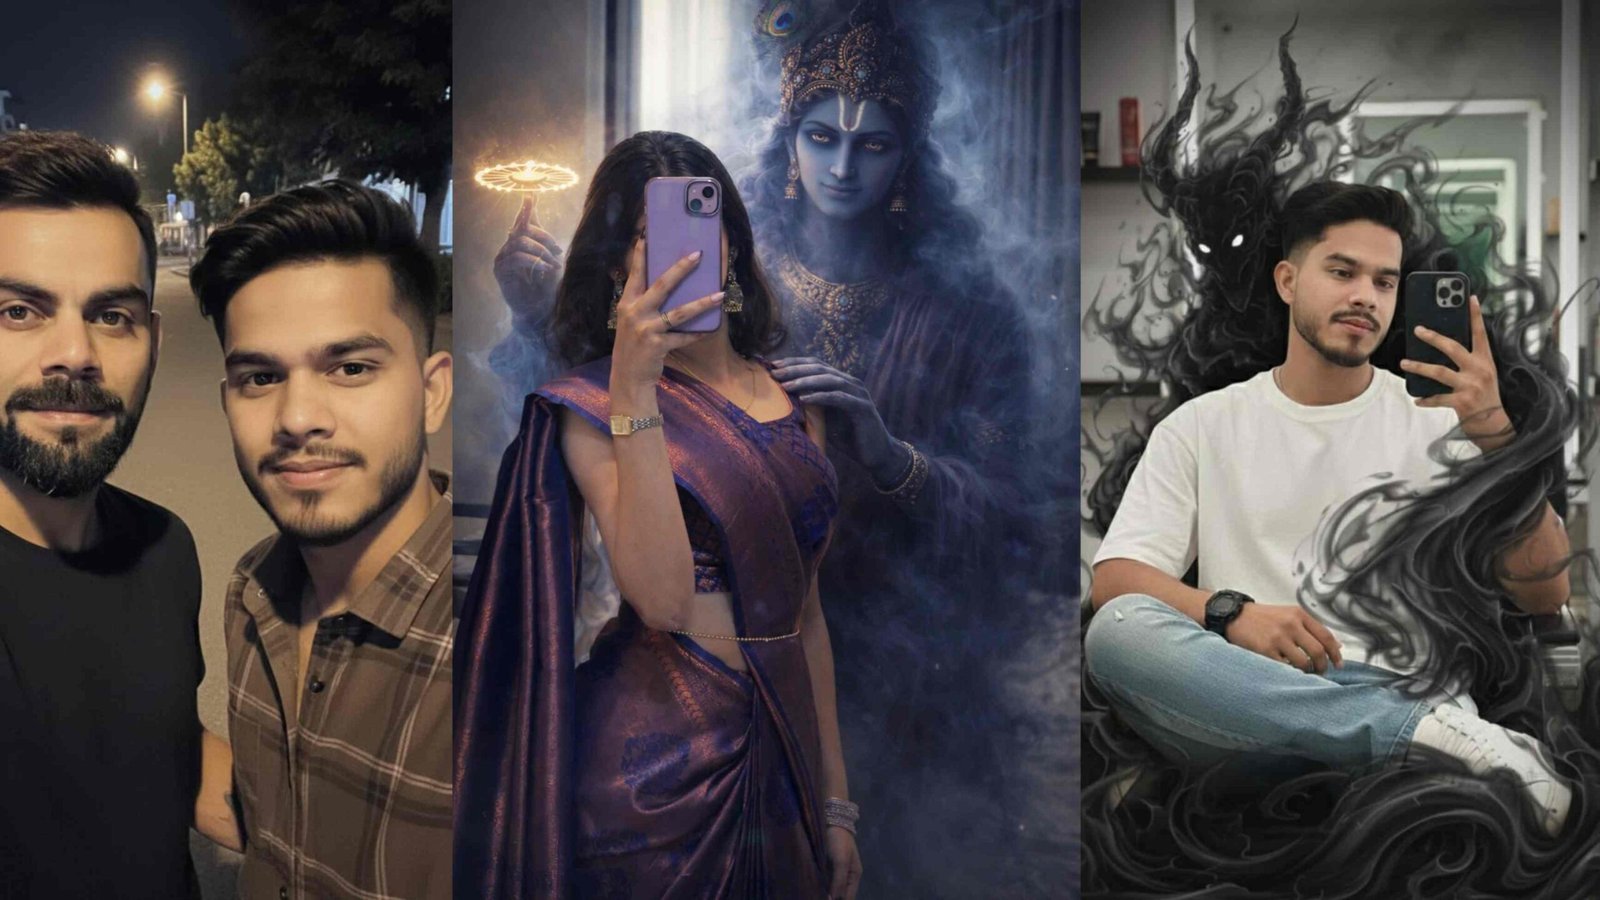
Instagram par abhi ek photo editing style bahut viral chal raha hai jisme normal photo ko dark cinematic look diya jata hai aur background me shadow demon ya smoke aura jaisa effect add kiya jata hai. Is type ke edits reels aur posts me kaafi high engagement la rahe hain.
Why This Edit Looks So Real?
Is trend ka secret sirf teen cheezon me chhupa hai: light matching, depth aur color grading. Jab aap demon ya smoke effect ko subject ke peeche rakhte ho aur lighting original photo se match karte ho, tab edit bilkul natural lagta hai.
Night street photos me warm streetlight hoti hai, isliye smoke ke edges me bhi halka warm highlight hona chahiye. Indoor mirror shots me cool white light hoti hai, to smoke ka contrast aur shadows usi tone me set karna hota hai.
What You Need (Tools & Apps)
- Lightroom Mobile – cinematic color grading ke liye
- Snapseed – details aur selective editing ke liye
- PicsArt / PixelLab – PNG overlay add karne ke liye
- Shadow Smoke / Demon PNG ya AI generated overlay
Step-by-Step: Shadow Demon Effect
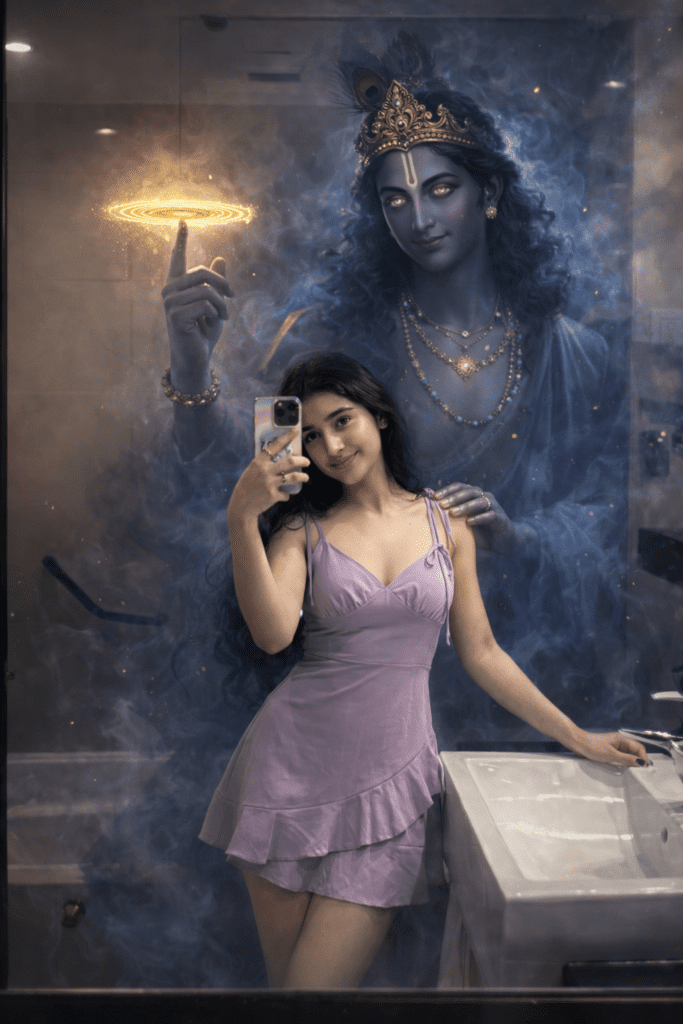
Create an ultra-realistic, high-resolution cinematic portrait using the provided reference image. Preserve the subject exactly as they are — do not alter the face, body, skin tone, expression, hairstyle, clothing, posture, or composition in any way.
Behind the subject, manifest a divine appearance of Lord Krishna emerging naturally from the environment. Krishna must be large yet perfectly scaled to match the subject’s height, camera angle, and perspective.
His form should be constructed from swirling deep-blue smoke, soft volumetric shadows, and subtle glowing particles — partially transparent but clearly recognizable. Avoid ghostly, horror, cartoon, or fantasy-art styles. Maintain authentic Hindu iconography.
Krishna should have calm, compassionate, faintly glowing eyes that convey protective power rather than aggression.
Place the Sudarshan Chakra elegantly rotating on one raised finger with soft golden light emission that realistically affects nearby smoke and atmosphere.
His other hand should rest gently on the subject’s shoulder from behind in a blessing and protective gesture — ensuring the subject’s face, hair, and body remain fully visible.
Environmental Integration (EXTREMELY IMPORTANT)
Match the original lighting direction, softness, temperature, and contrast
Replicate the same depth of field and background blur
Add physically accurate rim lighting where Krishna intersects light sources
Generate realistic contact shadows
Preserve natural color science and dynamic range
Ensure smoke interacts with ambient light correctly
Cinematic Color Grading
Apply professional cinematic color grading similar to high-end digital cinema:
Natural skin tones
Slightly cool shadows with gently warm highlights
Controlled contrast (avoid crushed blacks)
Wide dynamic range
No oversaturation
No artificial neon colors
Portrait Quality Requirements
8K detail
Hyper-real textures
Sharp facial clarity
Natural micro-contrast
Professional lens rendering
Subtle film-grade tonal separation
Strict Rules
Do NOT modify the subject
Do NOT crop, warp, or distort the image
Do NOT change the background composition
No watermark
No text
No artificial glow on the subject
The final image must feel dramatic, mystical, powerful, and cinematic — as if a divine guardian has been captured naturally through shadow, smoke, and light in a real photograph./pre>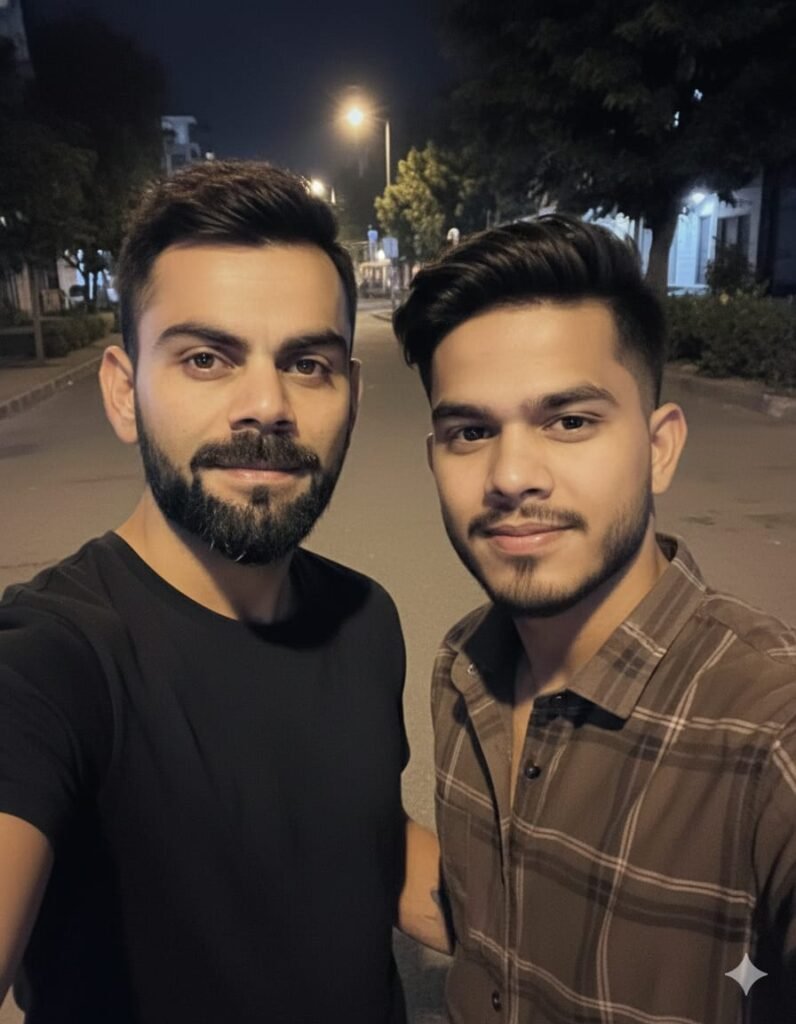
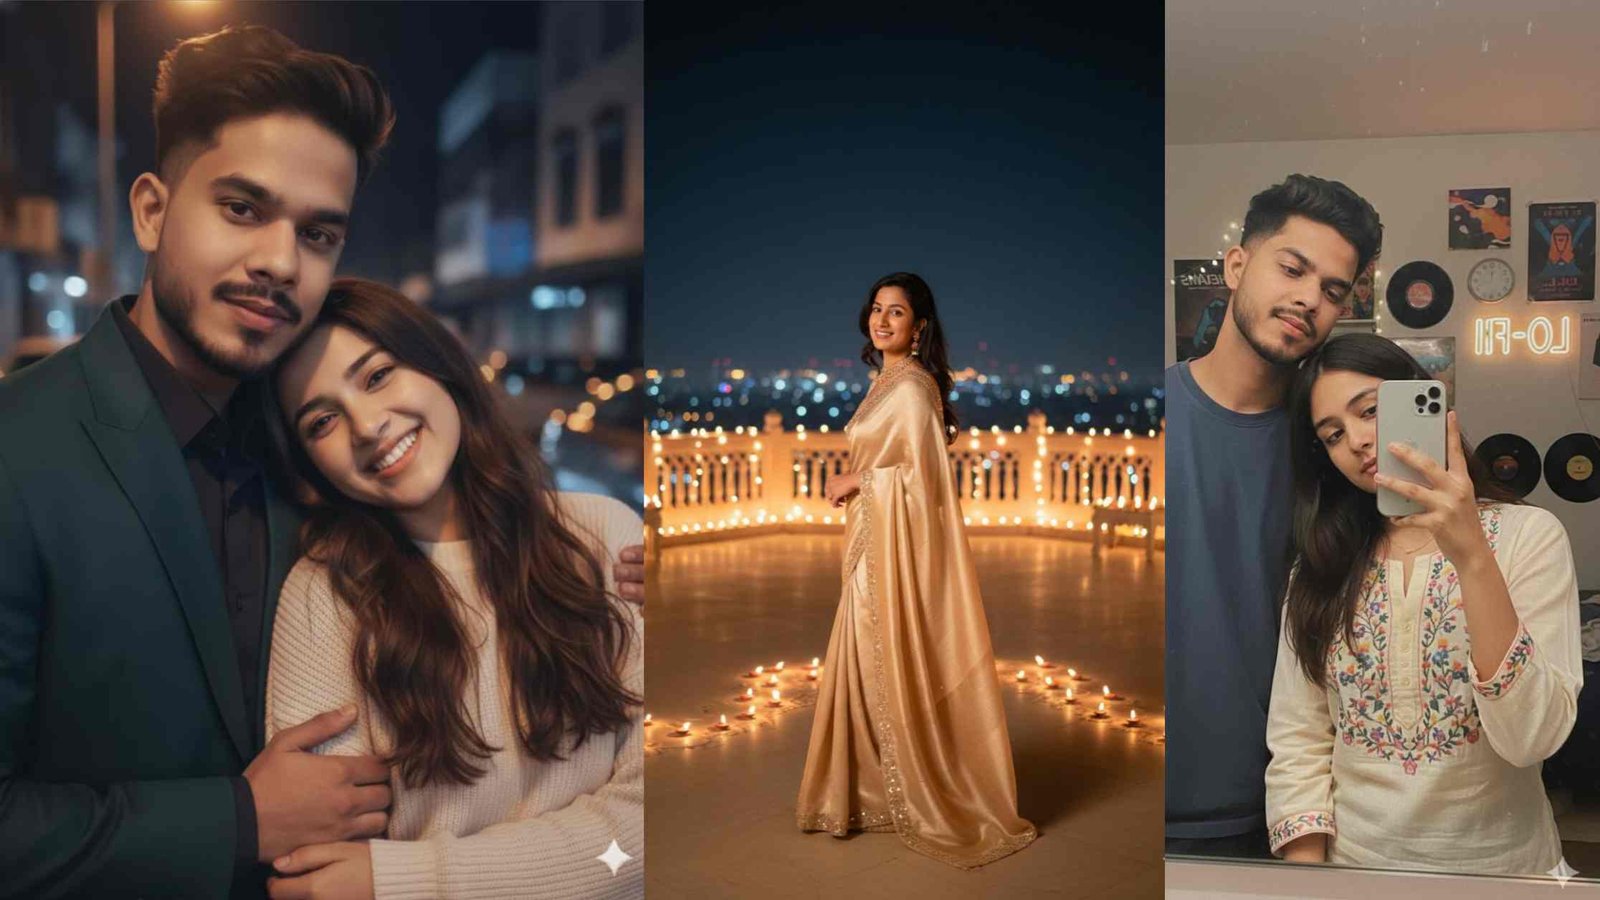
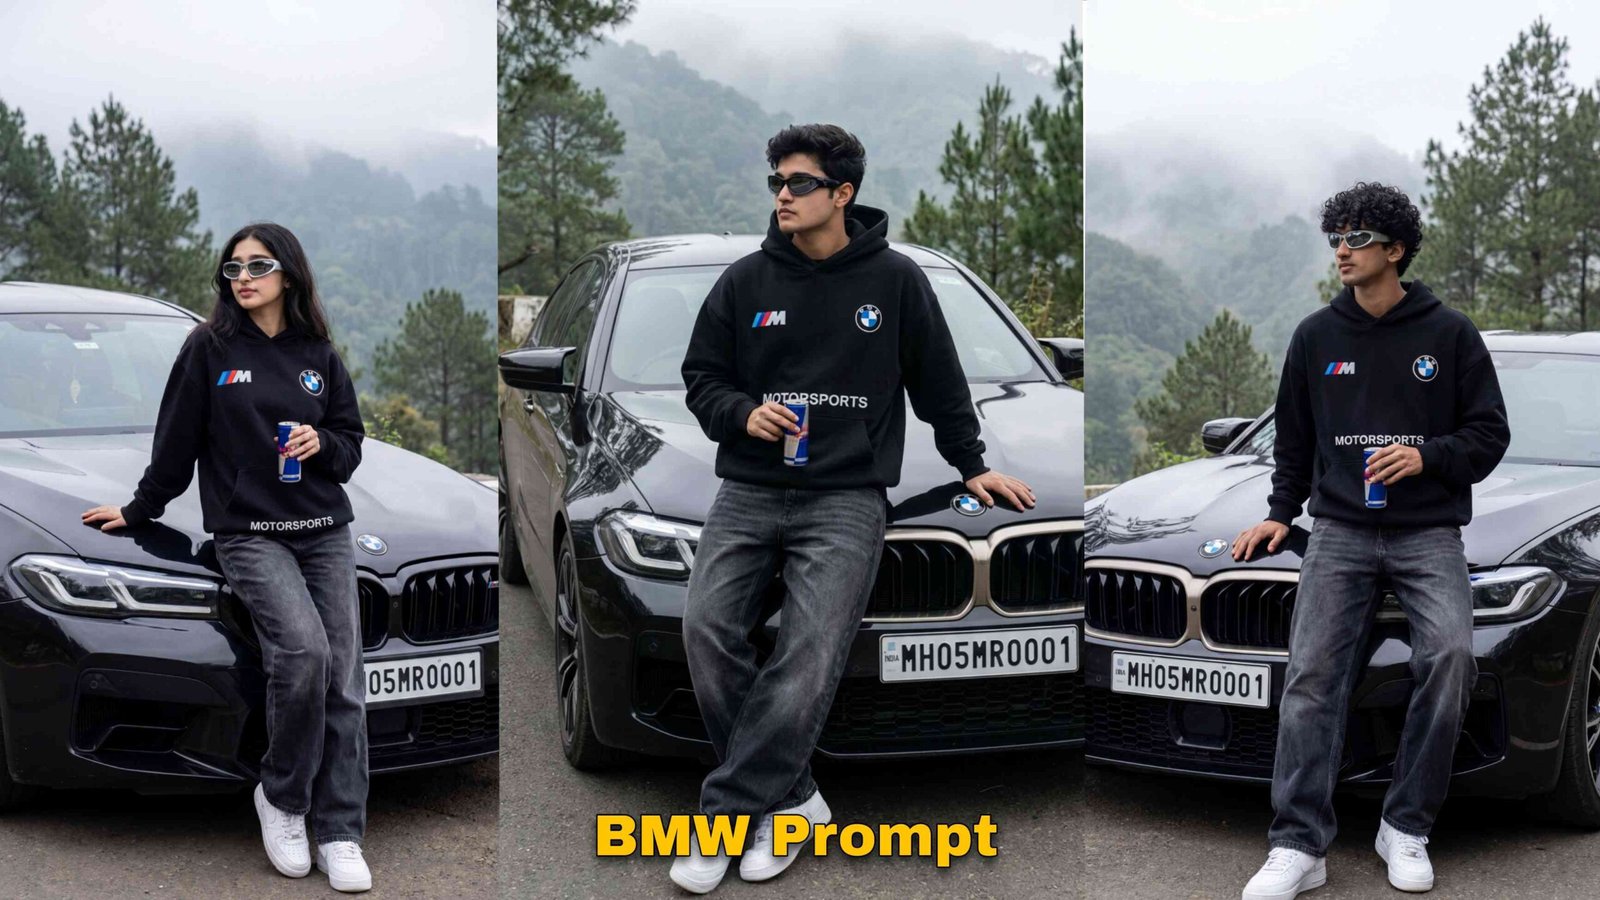
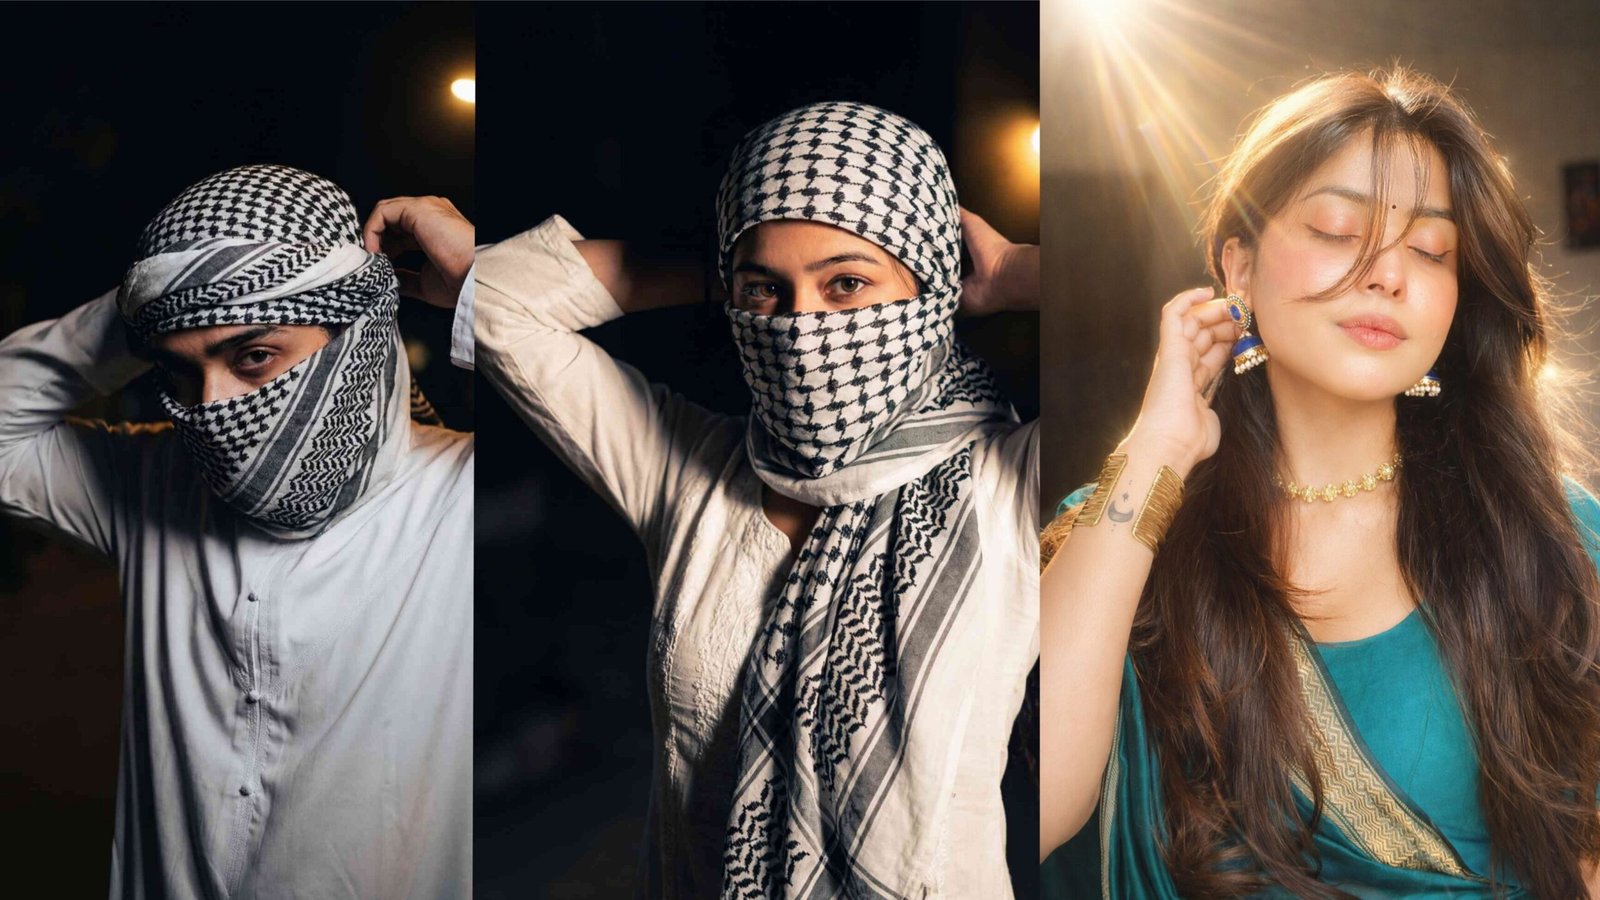
A realistic, high-quality selfie taken at night on a quiet suburban street. On the right, a man with a well-groomed beard and short dark hair, resembling Virat Kohli, wearing a light grey drawstring hoodie. On the left, a young woman with long, dark wavy hair and a gentle smile, wearing a black top with small floral embroidery. The background features warm street lamps casting a soft glow, dark green trees, and a paved road stretching into the distance under a dark night sky. The lighting is soft and natural, mimicking a modern smartphone camera front-facing flash.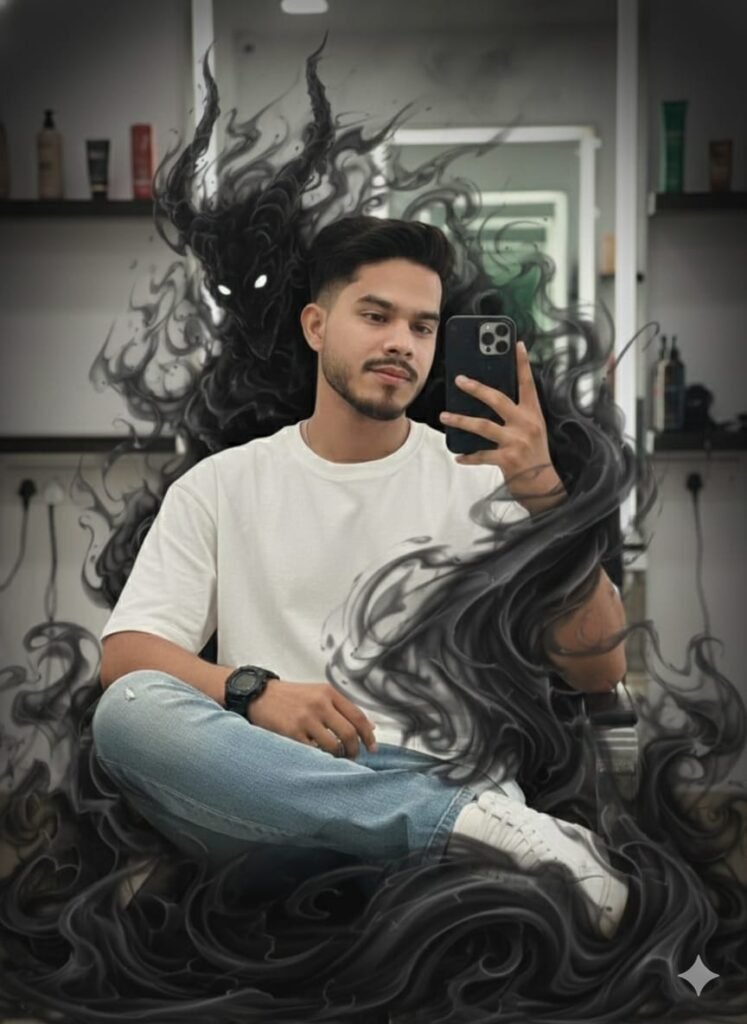
Prompt :- Transform this mirror selfie into a dark. cinematic fantasy scene.Keep the person exactly the same same face, pose, outfit, lighting, and background.Add a shadowy, smoke-like demonic entity emerging from behind the person's back.,The entity should be made of swirling black smoke,
semi-transparent, with glowing white eyes.The smoke wraps around the body and flows down to the floor naturally, blending with the environment.
Maintain realistic shadows reflections, and depth so the creature feels part of the scene. Dark, moody atmosphere, high contrast, cinematic lighting ultra-realistic. 4Kquality . No change to facial features clothing, or camera angle
Step 1: Right Photo Select Karein
Sabse pehle ek clear photo choose karein jisme face sharp ho aur background me thodi jagah ho. Night street ya indoor mirror photos is trend ke liye best hoti hain.
Step 2: Cinematic Base Edit (Lightroom)
Photo ko dark cinematic feel dene ke liye exposure thoda kam karein, highlights control karein aur shadows ko slightly deep rakhein. Colors ko thoda muted rakhna horror vibe ke liye perfect hota hai.
Step 3: Demon / Smoke Overlay Add Karein
PNG overlay ko hamesha subject ke peeche rakhein. Face ke upar overlap bilkul nahi hona chahiye. Demon ka head shoulder ke paas ya upar rakhein taaki depth realistic lage.
Step 4: Light & Shadow Match Karein
Overlay ki opacity 60–80% ke beech rakhein. Smoke ke edges ko thoda blur karein aur photo ki light direction ke hisaab se highlights adjust karein.
Recommended Lightroom Settings
- Exposure: -0.30
- Contrast: +20
- Highlights: -35
- Shadows: -20
- Blacks: -25
- Dehaze: +10
Pro Tips for Realistic Look
- Demon ko hamesha background me rakhein
- Face par smoke ya shadow na chadhne dein
- Same grain/noise add karein taaki overlay fake na lage
- Over-editing se bachein, simple rakhein
Best Captions & Hashtags
Captions:
- “Silence has a shadow.”
- “Dark vibes only.”
- “Not alone anymore.”
Hashtags:
#shadowedit #smokeeffect #cinematicedit #instagramreels #photoediting #lightroommobile #darkvibes
Conclusion
Shadow Demon / Smoke Aura editing ek simple process hai agar aap light matching aur depth ka dhyan rakhein. Is guide ko follow karke aap beginner hote hue bhi professional cinematic edits bana sakte hain jo Instagram par easily viral ho sakte hain.