Mastering the Vibe: The Ultimate Guide to the Nagpuri Trending Preset In the dynamic world of Indian social media, certain ..
Whether you’re a reel creator, a travel photographer, or a lifestyle influencer, mastering the Nagpuri trending preset is your ticket to achieving that professional, viral look with just one click. This 600-word guide breaks down the science of the look and provides a step-by-step manual for applying it using Adobe Lightroom.
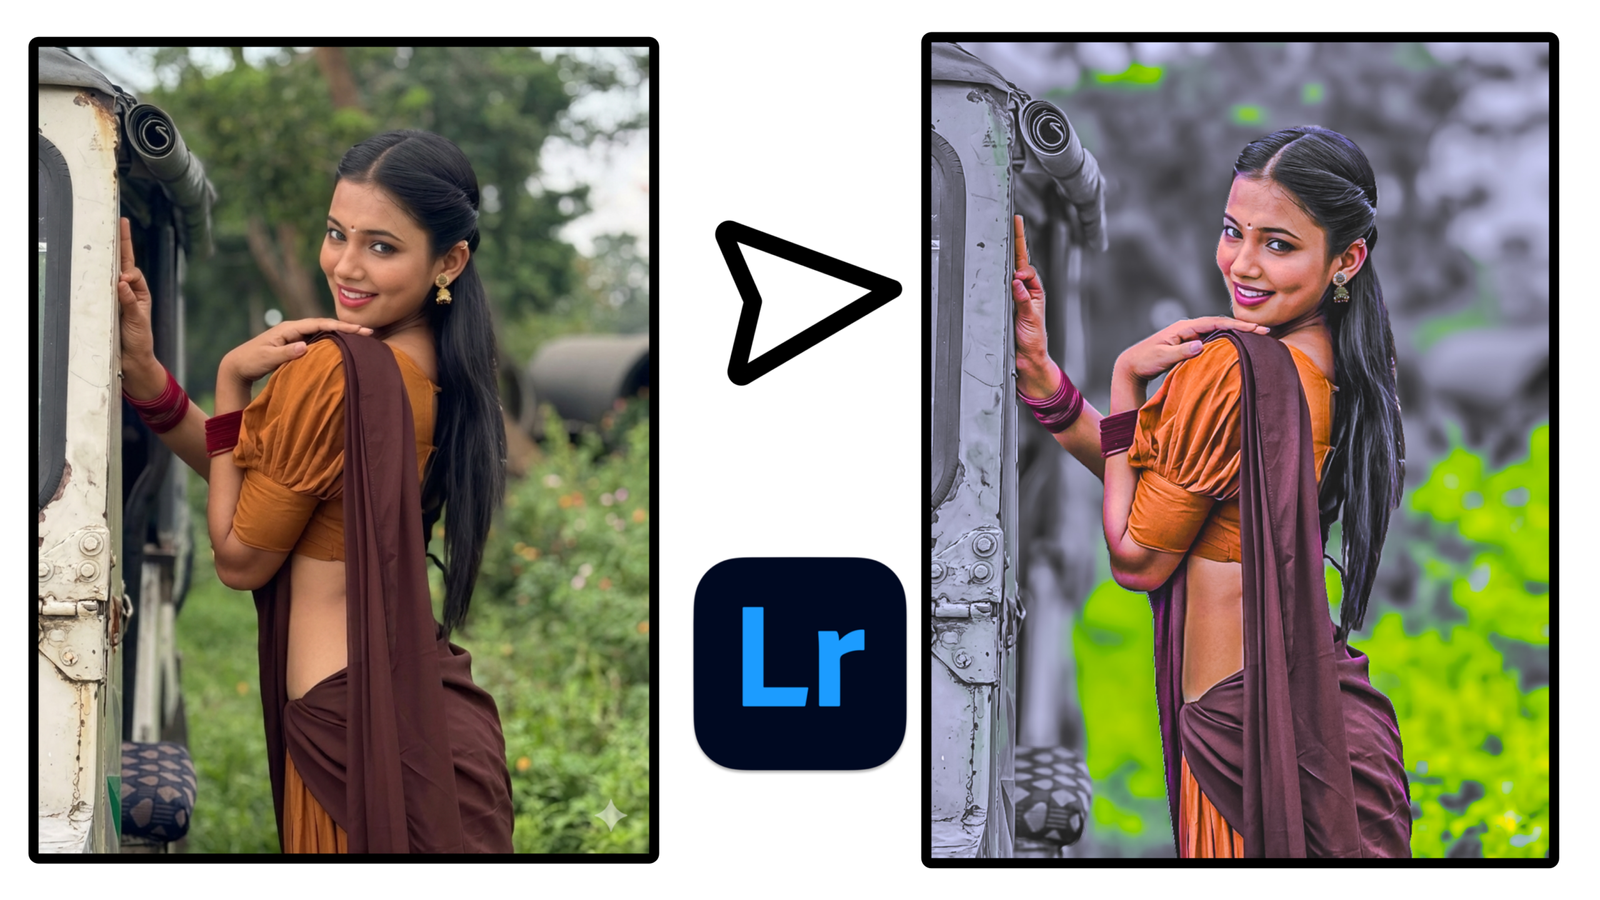
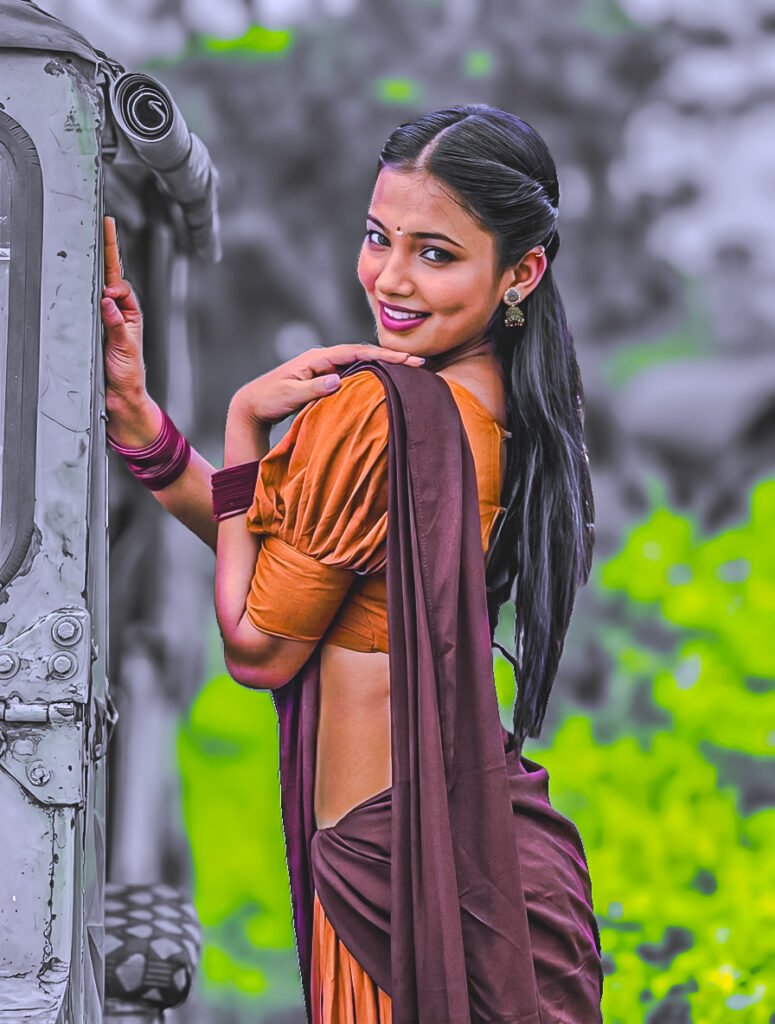
What Defines the Nagpuri Trending Preset?
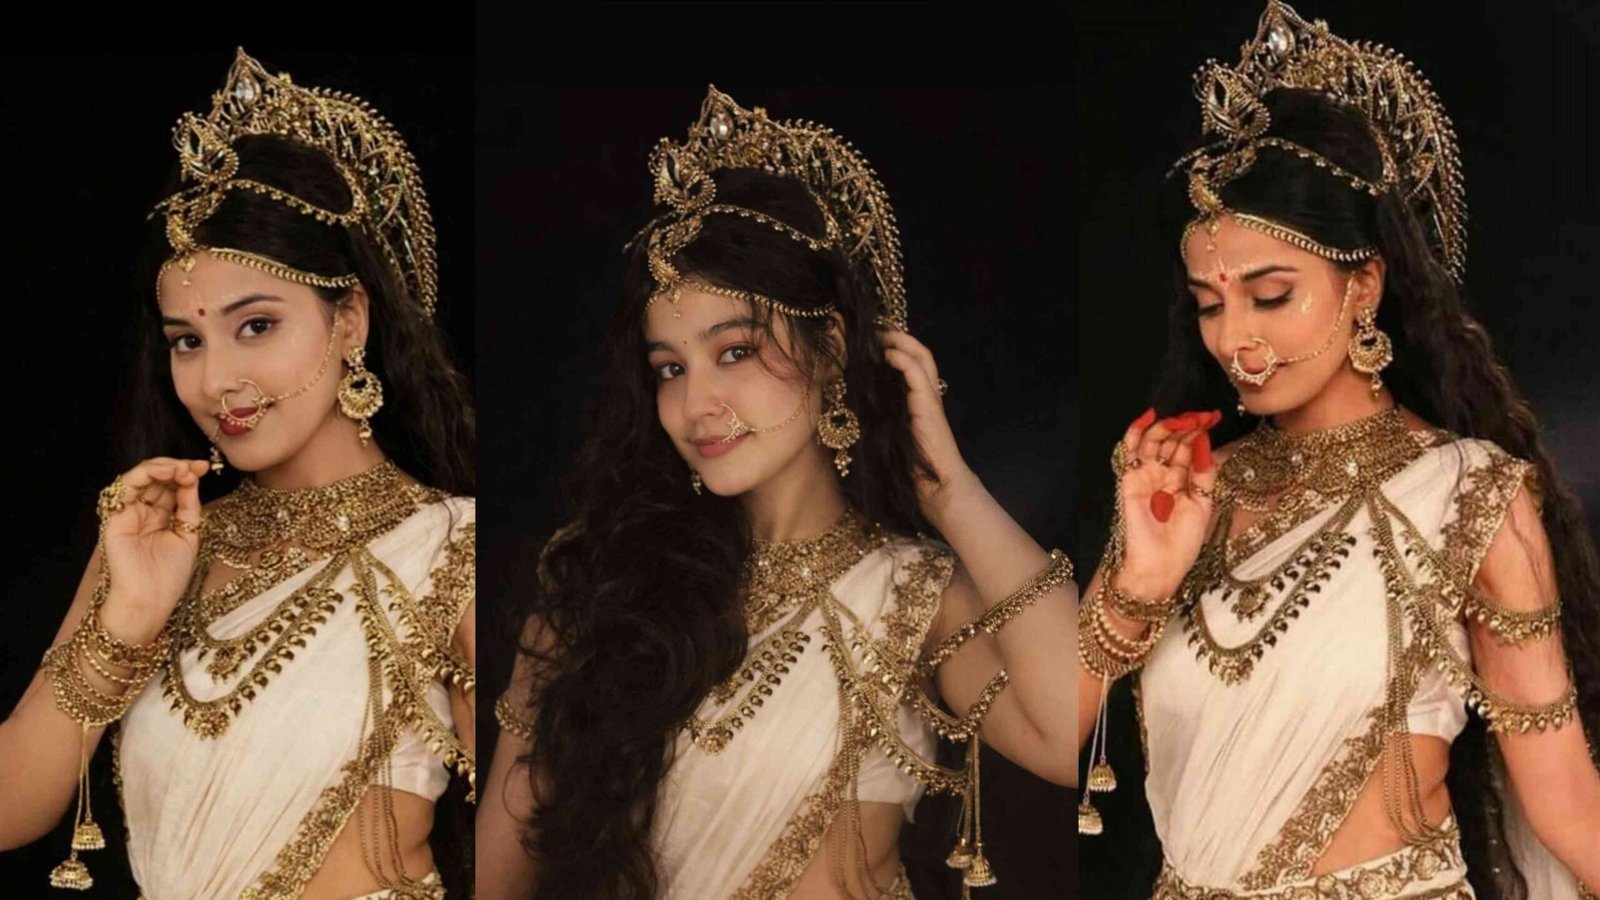
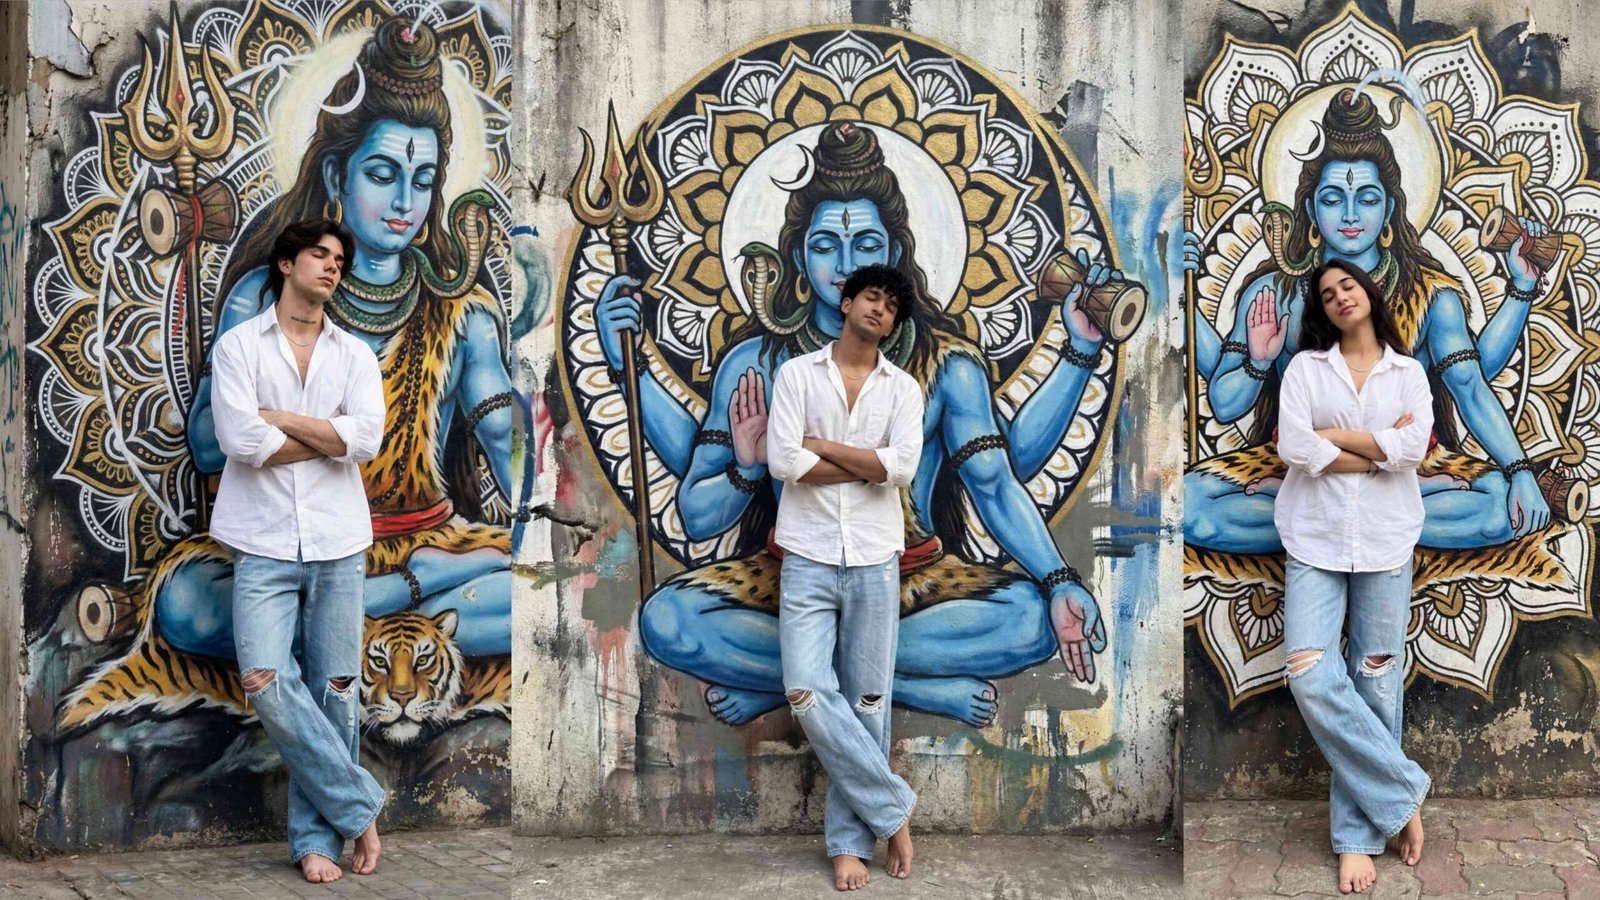
The Nagpuri photo editing style isn’t just a simple filter; it’s a deliberate color science designed to make subjects stand out against lush, natural environments. The core characteristics include:
- Cinematic Contrast: Deep, “crushed” blacks and bright highlights that create a 3D effect.
- Vibrant Hues: Greens are often shifted toward a deeper, emerald tone, while blues (sky or clothing) are saturated to provide a striking backdrop.
- Radiant Skin (Orange/Yellow Tones): The skin is edited to look smooth and luminous, often with a slight warm glow that reflects the golden hour.
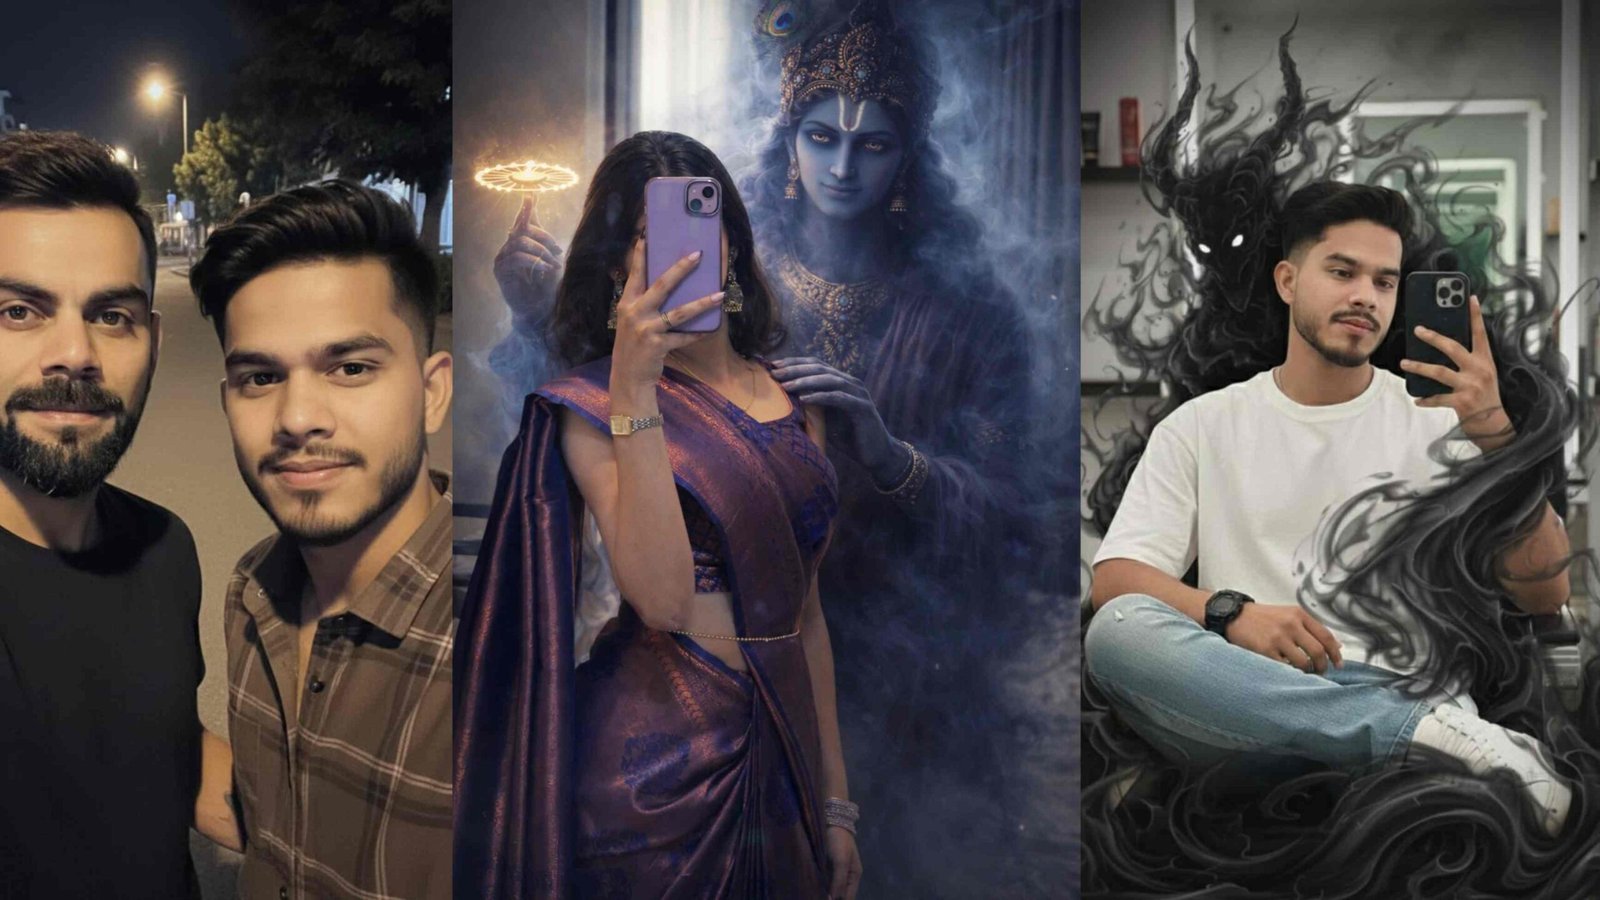
- The “Nagpuri Logo”: A unique signature of this trend is the addition of a custom stylized logo in the corner, often added via PicsArt, to give the photo a “branded” music video feel.
Step-by-Step: How to Create the Nagpuri Look in Lightroom
If you don’t have a DNG file to download, you can manually create the Nagpuri trending preset using these standard settings in Lightroom Mobile:
1. Light & Exposure
- Exposure: $+0.30$ to $+0.50$ (for that bright, clean look).
- Contrast: $+25$ (to make the image pop).
- Highlights: $-40$ (to recover detail in the sky).
- Shadows: $+35$ (to reveal details in dark areas).
2. The Color Mix (HSL) — The Key Ingredient
- Orange (Skin): Hue $-5$, Saturation $+10$, Luminance $+20$ (this makes the face glow).
- Green (Nature): Hue $-30$ (shifts green toward yellow/dark forest), Saturation $-15$.
- Blue (Sky/Shirt): Hue $-20$, Saturation $+35$, Luminance $-10$.
3. Effects & Details
- Texture & Clarity: $+15$ (to add a gritty, high-definition feel).
- Vignette: $-20$ (to pull the viewer’s eye to the center).
- Sharpening: $+40$.
How to Use Nagpuri Trending Presets (DNG/XMP)
Most creators prefer the “One-Click” method using DNG files. Here is the professional workflow:
- Download: Search for a “2026 Nagpuri trending preset DNG” and save it to your gallery.
- Import to Lightroom: Open the Lightroom app and add the DNG photo.
- Copy Settings: Tap the three dots $(…)$ in the top right corner and select “Copy Settings.”
- Paste & Apply: Open your original photo, tap the three dots again, and select “Paste Settings.”
- Final Adjustment: Use the Lightroom Masking tool to brighten just your face if the background is too dark.
SEO Tips for Ranking Your Nagpuri Content
If you are a blogger or YouTuber sharing these presets, ensure your SEO is optimized to reach the trending audience:
- Primary Keyword: Nagpuri Trending Preset
- LSI Keywords: Nagpuri photo editing 2026, Lightroom Nagpuri style tutorial, Free DNG preset download, Instagram viral editing.
- Call to Action: Encourage users to join your Telegram or WhatsApp channels for direct preset links, as this is how the Nagpuri editing community primarily shares resources.
Conclusion: Your Viral Transformation Awaits
The Nagpuri trending preset is more than a technical adjustment—it’s a way to celebrate regional creativity through a global digital medium. By balancing intense color with cinematic contrast, you can transform a standard mobile shot into a masterpiece that captures the vibrant spirit of 2026.
Would you like me to find a direct link to a 2026 Nagpuri Trending Preset DNG file for you to download?