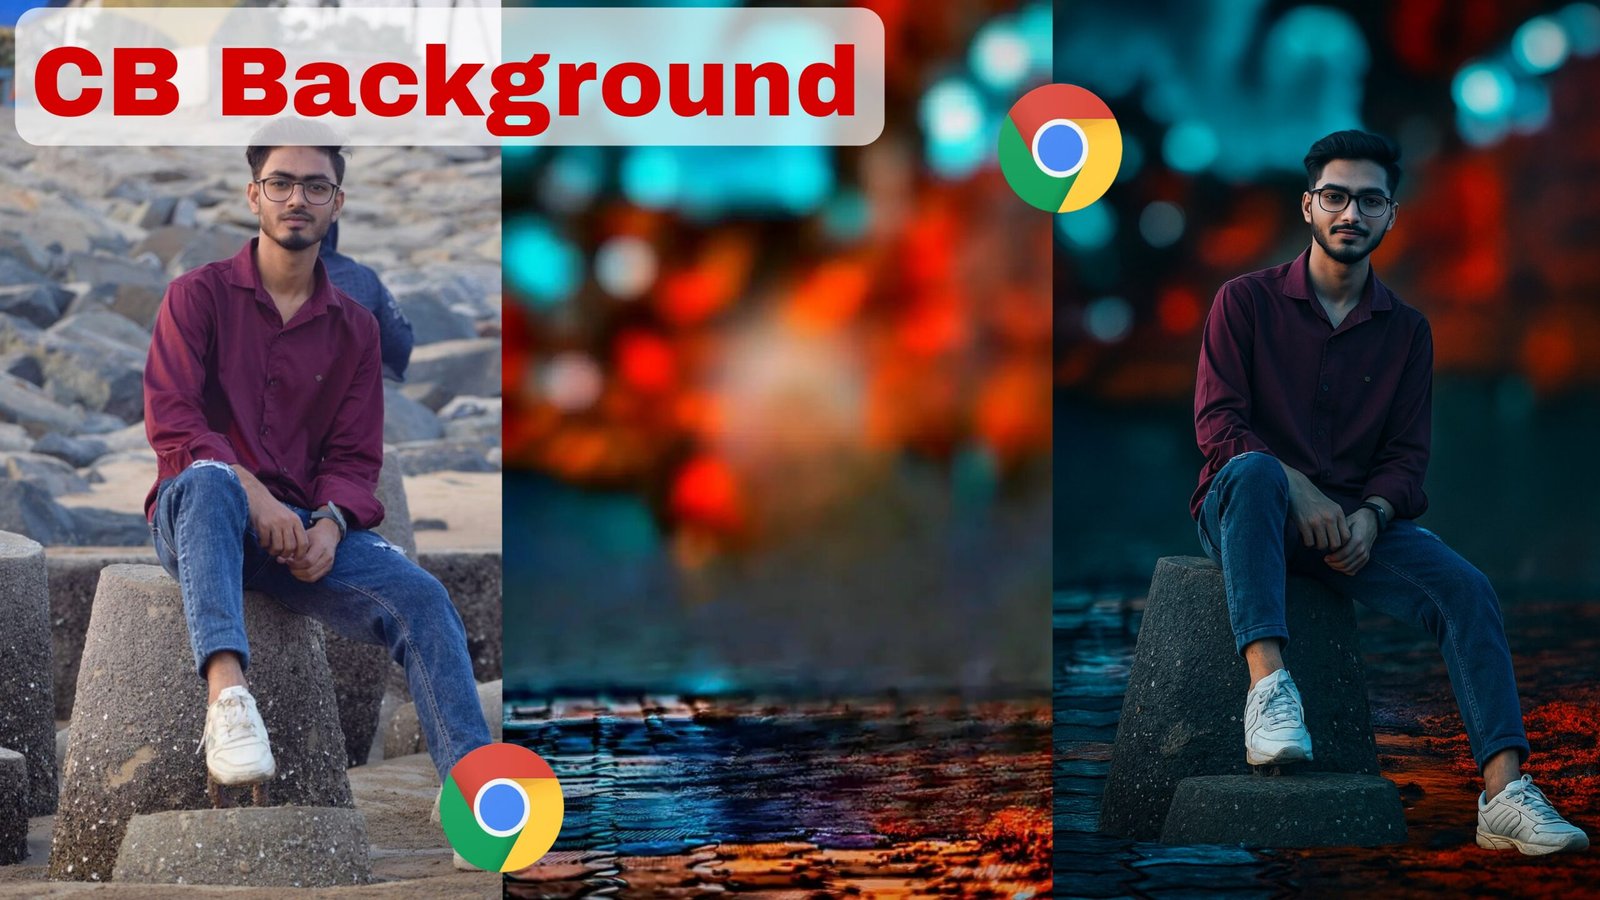
In the vibrant world of digital photo editing, trends come and go, but few have left as indelible a mark as the CB Background. If you’ve spent any time on social media platforms popular in India over the last decade, you’ve undoubtedly encountered this distinct visual style. Characterized by its dramatic, high-contrast, and vividly colored aesthetic, the CB background transformed ordinary photos into eye-catching masterpieces.
But what exactly is a CB background? Who created it, and why did it become a cultural phenomenon for an entire generation of aspiring editors? This ultimate guide will delve deep into the world of Chetan Bhoir’s iconic editing style, exploring its origins, defining characteristics, and enduring legacy. We’ll also provide a step-by-step tutorial on how to create your own stunning CB edits and where to find the best resources.
What is a CB Background? The Story Behind the Style
The “CB” in CB Background stands for Chetan Bhoir, a talented photo editor from Mumbai, India. Around the mid-2010s, Chetan began sharing his unique editing style on social media platforms like Facebook. His work was a radical departure from the subtle, natural edits that were common at the time. Instead, he embraced a bold, almost surreal aesthetic that made his subjects pop.

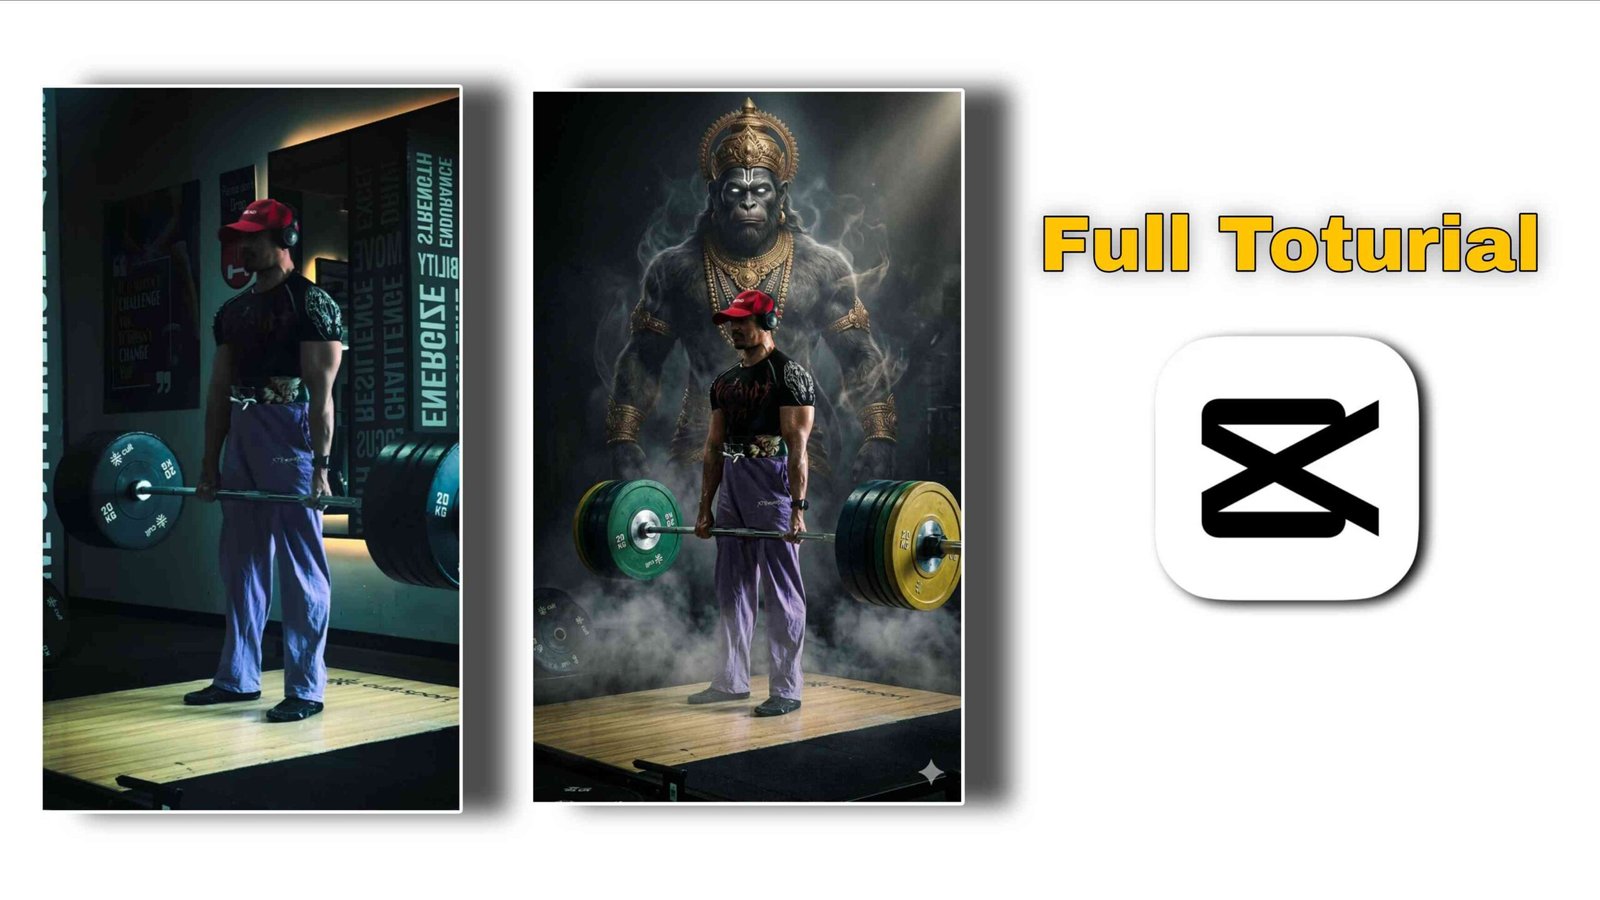
Prompt:- Apply the first previous background properly to our photo and do Cb editing without changing the face.His signature style involved placing a sharply cut-out portrait against a heavily manipulated background. These backgrounds weren’t just simple backdrops; they were a core part of the artistic expression. They featured:
- Vibrant, Saturated Colors: Deep blues, fiery oranges, and electric greens were common, often pushed to their limits to create a dramatic effect.
- High Contrast and Clarity: Shadows were deepened, and highlights were brightened to create a sharp, defined look that demanded attention.
- Bokeh and Light Effects: Soft, blurry light orbs (bokeh), lens flares, and artificial light leaks were used generously to add depth and a professional, studio-like quality.
- Stylized Elements: Often, these backgrounds included elements like stylish text, logos, smoke effects, and abstract light patterns.
This combination of techniques resulted in a polished, almost larger-than-life look that was instantly recognizable. Chetan Bhoir wasn’t just editing photos; he was creating a brand, a movement that would soon be known simply as “CB Editing.”
Why Did CB Editing Become a Phenomenon?
The explosion in popularity of the CB background can be attributed to a perfect storm of technology, accessibility, and cultural trends.
The Rise of Mobile Editing Apps
The single most significant factor was the accessibility of powerful mobile editing applications, most notably PicsArt. Before this, high-level photo manipulation was the domain of professionals using expensive desktop software like Adobe Photoshop. PicsArt democratized photo editing, putting advanced tools like layers, blending modes, and precise selection tools into the hands of anyone with a smartphone. Chetan Bhoir himself used and promoted PicsArt, showing millions of aspiring editors that they didn’t need a computer to create professional-looking images.
The Social Media Boom
Platforms like Facebook and later Instagram created a massive demand for visually appealing profile pictures and posts. Young people, in particular, wanted to stand out, and a “normal” photograph was no longer enough. A CB-edited photo was a status symbol. It showed that you were creative, technically skilled, and part of a trendy online community. The style was perfectly suited for grabbing attention in a crowded social media feed.
A Sense of Community
Chetan Bhoir didn’t just share his work; he inspired a community. He shared his background images (CB backgrounds) and PNG files (pre-cut elements like text or light flares) for free, encouraging others to learn and replicate his style. Countless Facebook groups, YouTube channels, and websites sprang up, dedicated to CB editing tutorials, resources, and showcases. This collaborative spirit fostered a sense of belonging and turned a simple editing style into a full-fledged subculture. New editors learned from seasoned veterans, sharing tips and celebrating each other’s creations.
How to Create Your Own CB Background & Edit: A Step-by-Step Tutorial
Ready to try your hand at this iconic style? While it may look complex, the process is straightforward once you understand the core principles. We’ll use PicsArt for this tutorial, as it’s the classic tool for the job.
Step 1: Choose Your Base Images
You’ll need two main images:
- Your Portrait: Choose a well-lit photo of yourself or a model. A clean, simple background makes it easier to cut out the subject later.
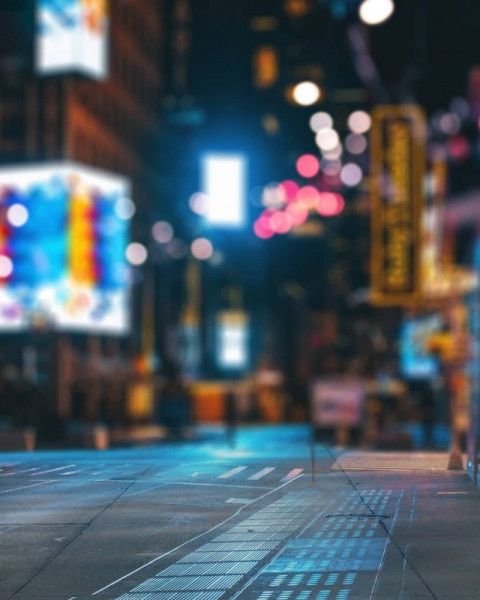
- The Background Image: This is the foundation of your CB background. You can start with a simple outdoor scene, a cityscape, or even a textured wall. The key is to pick something with interesting elements that you can enhance. You can search online for “HD CB background” to find pre-made bases.
Step 2: Prepare the Background
Open your chosen background image in PicsArt. This is where the magic begins.
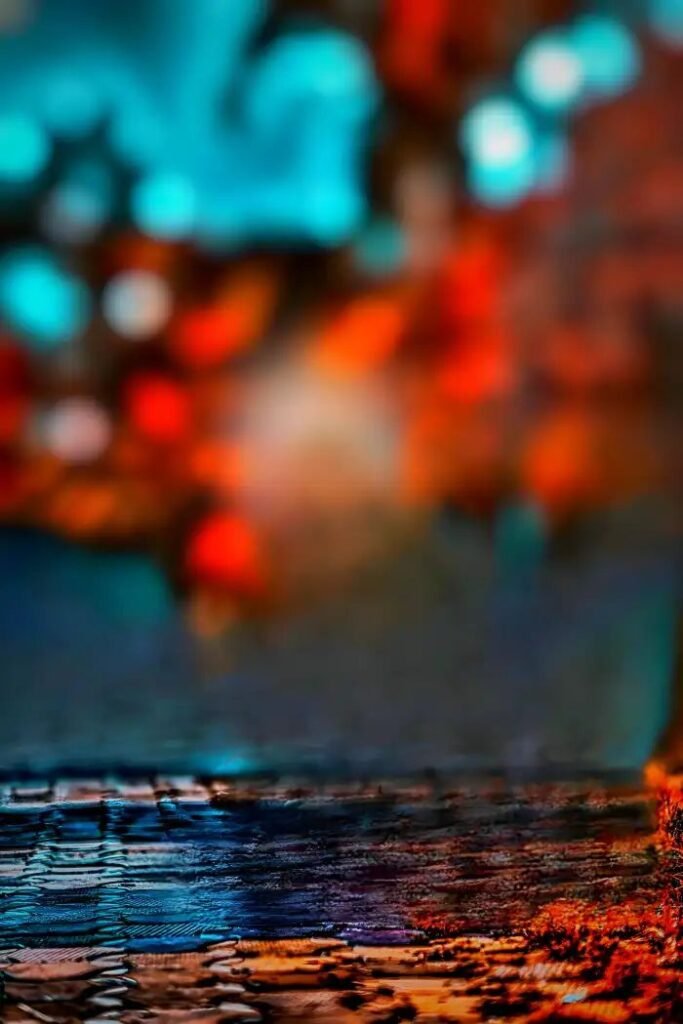
- Adjust Colors and Light: Go to Tools > Adjust. Here, you’ll make the signature CB enhancements.
- Decrease Brightness slightly.
- Dramatically increase Contrast.
- Boost Clarity to sharpen details.
- Increase Saturation significantly to make colors pop. Play with the Hue slider to shift the color palette if you want a different mood.
- Go to Shadows and darken them, then go to Highlights and brighten them to push the contrast even further.
- Add Bokeh Effect: Go to Effects > Blur. Select the Lens Blur option. You can adjust the radius and brightness of the blur to create a dreamy, out-of-focus background effect. This helps your subject stand out later.
Step 3: Add Overlays and Light Leaks
This step adds depth and a professional touch.
- Use the “Add Photo” feature to import light leak or lens flare overlays. You can find thousands of these by searching for “lens flare PNG” or “light leak overlay” online.
- Place the overlay on your background. Change its Blend Mode to “Screen” or “Add”. This will make the black parts of the overlay transparent, leaving only the light effect.
- Adjust the opacity and position of the overlay until it looks natural and enhances the composition. You can add multiple overlays for a more complex look.
Step 4: Cut Out and Place Your Subject
Now it’s time to add your portrait.
- Open your portrait image. Use the Cutout tool in PicsArt. Select the “Person” option, and the app’s AI will automatically detect and select the subject.
- Refine the edges using the manual brush and eraser for a clean, sharp cutout. Save the cutout as a sticker.
- Go back to your edited background project and use the “Sticker” tool to add your cutout.
- Position and resize your subject so it fits naturally into the scene.
Step 5: Final Touches and Color Grading
The final step is to make sure your subject and background look like they belong together.
- With your subject layer selected, go to Tools > Adjust. Tweak the brightness, contrast, and saturation of your subject to match the lighting and color scheme of the dramatic background you created.
- Consider adding a final effect or filter over the entire image to unify the colors. The “HDR” or “Vibrant” effects in PicsArt can work well.
- Finally, you can add stylized text or your own watermark using the “Text” tool to complete the classic CB editing look.
Save your masterpiece! You’ve now created your very own photo in the iconic CB style.
Where to Download HD CB Backgrounds
If creating a background from scratch seems too time-consuming, you can download high-quality, pre-made CB backgrounds created by other editors. This is how the community thrived—by sharing resources. Here are the best places to look:
- Dedicated Editing Websites: Numerous websites specialize in providing editing resources. Search for terms like “CB edits background,” “new CB background download,” or “PicsArt editing background.” These sites often categorize backgrounds by color or theme.
- Pinterest: Pinterest is a visual goldmine for CB backgrounds. Use search terms like “Chetan Bhoir editing,” “HD background for editing,” and “bokeh background” to find endless inspiration and downloadable images.
- YouTube: Many editing tutorial channels on YouTube provide free background packs. They usually link to a Google Drive or MediaFire folder in the video description where you can download hundreds of backgrounds and PNG files at once.
- Facebook Groups: The original home of the CB community, Facebook groups dedicated to PicsArt and CB editing are still active. Members frequently share their latest backgrounds and resources.
A Note on Copyright: While most CB backgrounds are shared freely within the community for personal use, always be mindful of copyright, especially if you plan to use the images for commercial purposes.
Frequently Asked Questions (FAQ)
Who is the real Chetan Bhoir?
Chetan Bhoir is the Mumbai-based photo editor who originated the “CB Edit” style. He gained fame on Facebook for his unique, high-contrast edits and for generously sharing his background images and techniques with a growing community of followers.
What apps are best for CB editing?
While the style was born on PicsArt, you can achieve the look with other powerful mobile or desktop apps. Snapseed is excellent for detailed color and light adjustments. Lightroom Mobile offers professional-grade control over colors. On desktop, Adobe Photoshop remains the most powerful tool for this style of photo manipulation.
Is the CB background trend still popular?
While the peak of the CB editing craze was in the late 2010s, its influence is undeniable. The core principles—dramatic contrast, vibrant colors, and sharp subject isolation—are still widely used in social media edits today, even if they aren’t explicitly called “CB edits.” The trend has evolved, but its DNA is present in many modern editing styles. It taught a generation of smartphone users the fundamentals of creative photo manipulation, leaving a lasting legacy.