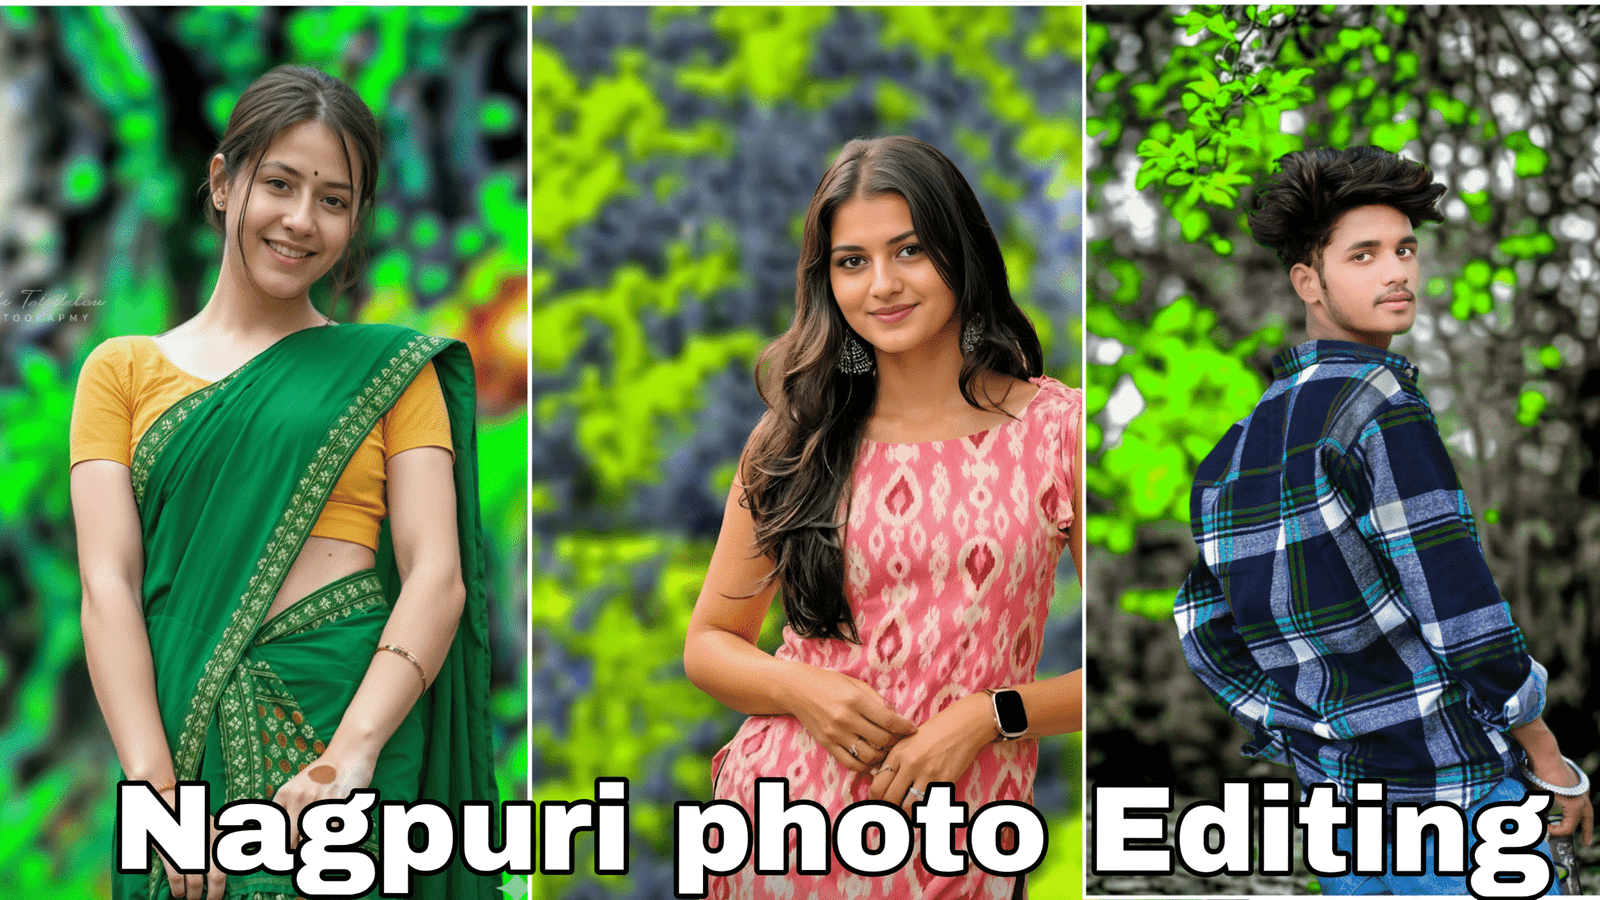
In the digital landscape of photo sharing, a unique editing style can be the key to viral success. One aesthetic that has become synonymous with high-impact, professional-grade mobile editing is CB Background Nagpuri Photo Editing. This trend is a compelling marriage of two distinct, powerful techniques: the hyper-realistic clarity and subject focus of the original “CB Editing” style, combined with the moody, vibrant, and often green/blue color grade popularized by photo editors from the Nagpuri region and its surrounding cultural sphere.
This comprehensive 1000-word article serves as your ultimate guide to understanding and mastering the CB Background Nagpuri Photo Editing style. We will dissect the three critical phases of this technique—the background swap, the detail enhancement, and the signature color grade—and provide the essential workflow and SEO strategies you need to dominate social media feeds.
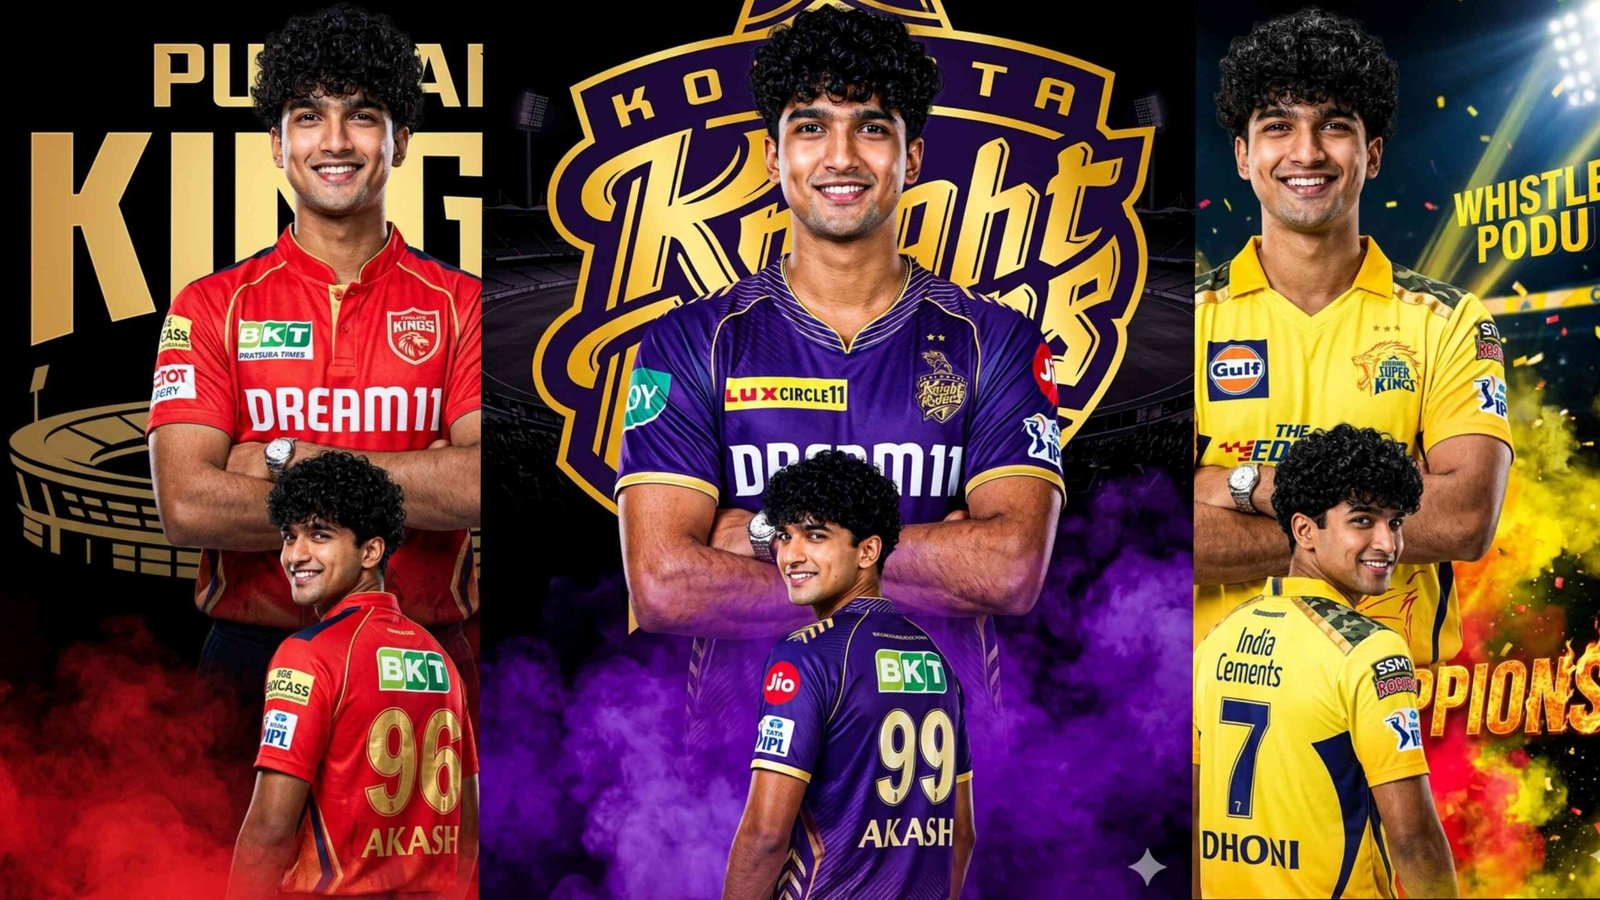
Phase 1: The Core Foundation – CB Background Mastery
The CB Background component is the structural backbone of this entire editing style. It involves a meticulous process of subject isolation and relocation to a high-definition, usually dramatic, custom background.
1. The Anatomy of a CB Background
A true CB background is characterized by:
- High Resolution (4K/8K): The background must be of exceptional quality to maintain sharpness when blended with a highly detailed subject.
- Dramatic Lighting: They often feature rich, stylized lighting—think moody shadows, bright spotlights, or vibrant streetlights—that guides the final color grade.
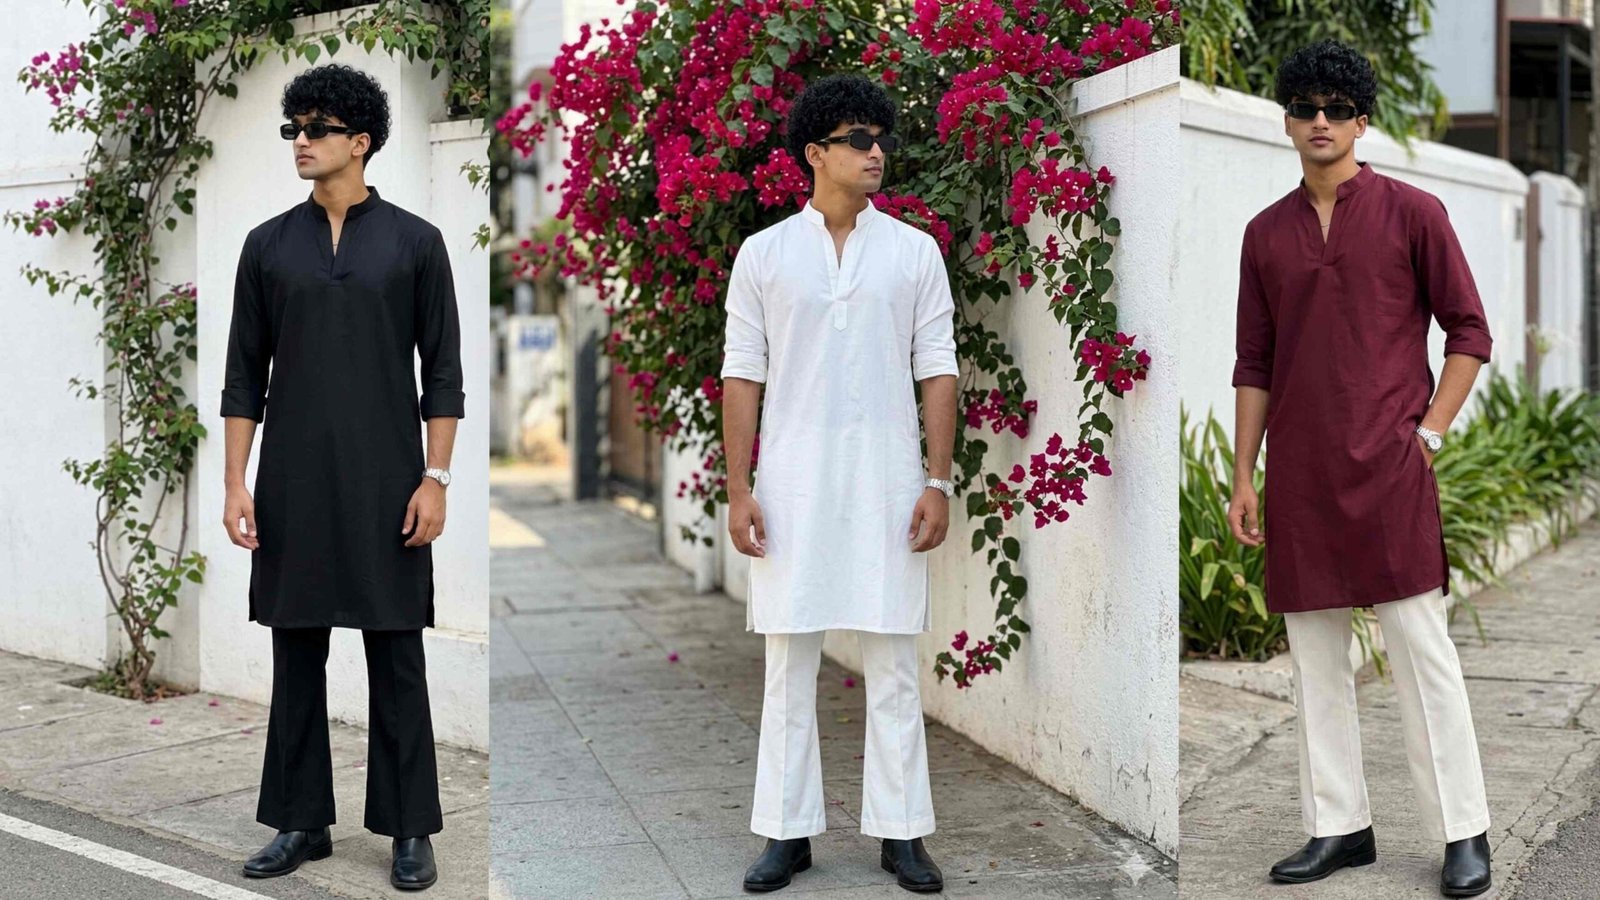
- Aesthetic Themes: Popular themes include dark, grungy streets, moody forests, glowing light trails, luxury vehicles, or rich, textured walls. These backdrops instantly elevate the photo’s narrative.
2. Seamless Subject Isolation and Compositing
The success of the “CB Background” style hinges on perfect blending, primarily achieved using mobile applications like PicsArt or Hypic:
- Precise Cutout: Use the ‘Cutout’ tool to isolate the subject. Pay extreme attention to tricky areas like hair, ensuring no rough edges remain.
- Background Integration: Place the cut-out subject onto the chosen CB Background. Adjust the size and perspective so the subject looks naturally integrated, not just pasted.
- Initial Light Matching: Use the ‘Adjust’ or ‘Tune Image’ tools to make the light on the subject roughly match the light sources in the new background. If the background is dark, decrease the exposure and shadows on the subject.


Apply the first previous background properly to our photo and do Cb editing without changing the face.Phase 2: Nagpuri Clarity – The Detail and Texture Revolution
Once the subject and CB Background are blended, the next phase introduces the signature clarity and skin work essential to the Nagpuri aesthetic. This often requires the combined power of Snapseed and dedicated AI enhancers.
- Hyper-Detailing (Snapseed):
- Apply the HDR Scape tool to increase overall texture and drama, especially in the background and clothing.
- Crucial Selective Editing: Immediately after applying HDR Scape, use the ‘View Edits’ function to precisely remove the effect from the subject’s face and skin. This preserves the desired smooth, glossy texture while the rest of the image remains sharp.
- Skin Smoothing and Gloss:
- Use the ‘Portrait’ or ‘Smooth Skin’ tools in PicsArt, or an AI-based app like Remini (for resolution enhancement), to achieve the characteristic glossy or Oil Paint texture on the skin. The skin is bright, smooth, and highly contrasted against the sharp background.
- High-Resolution Output: Use AI enhancers to boost the final image quality to 4K or 8K resolution, ensuring every edit remains crisp—a defining feature of the viral style.
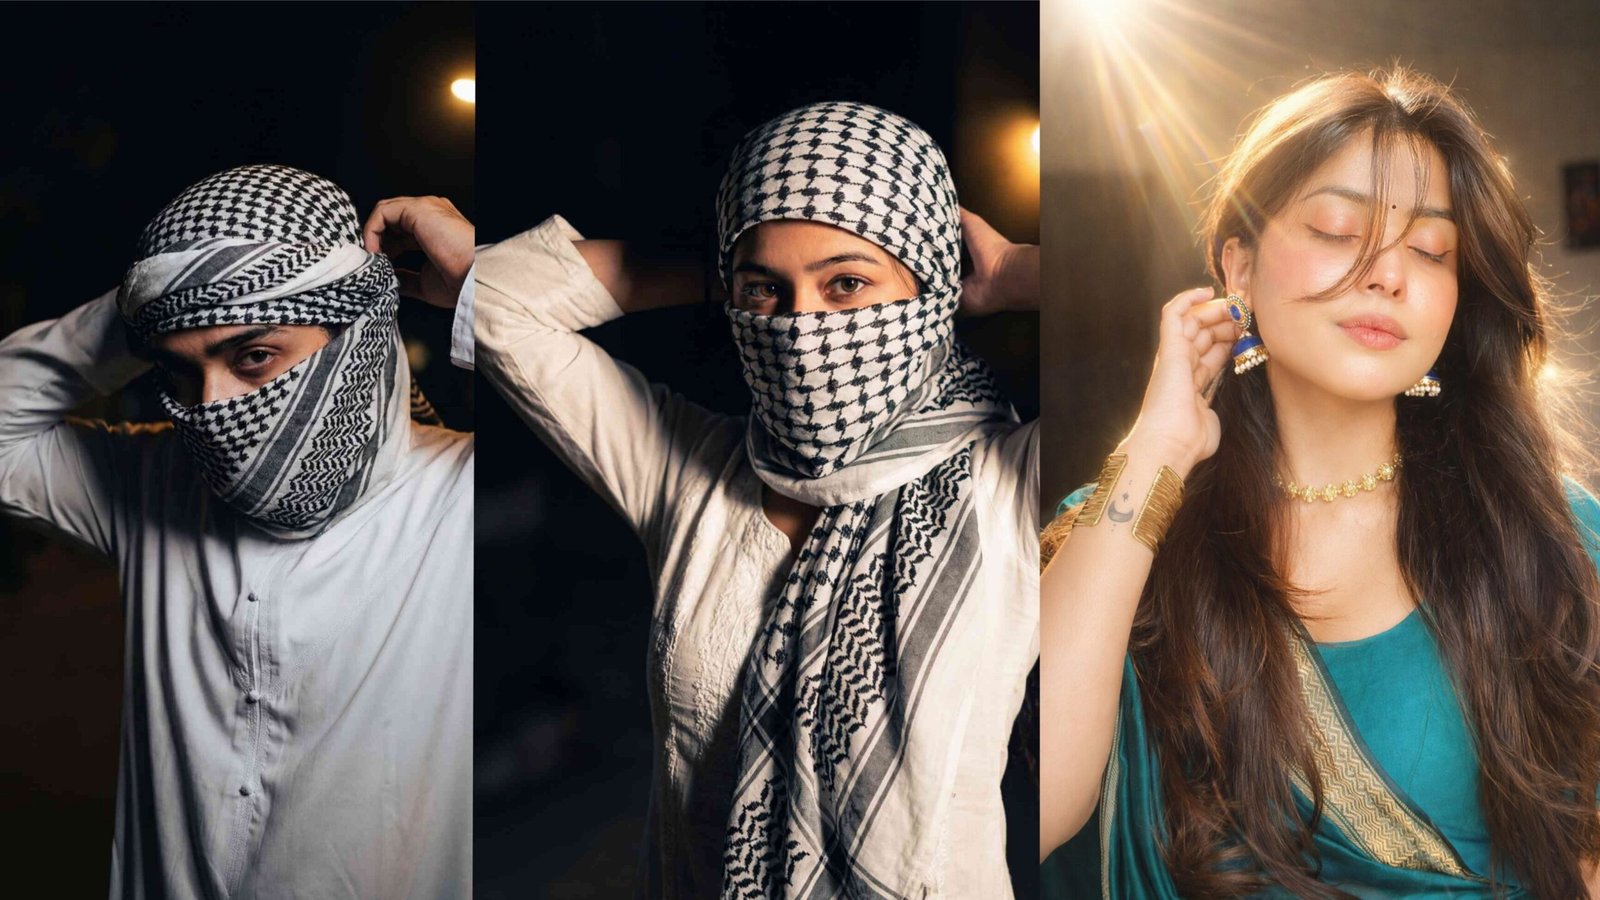
Phase 3: The Mood Setter – The Signature Nagpuri Color Grade
The final, and most crucial, layer is the Nagpuri Photo Editing color grade. This specific tone is what gives the photo its instantly recognizable, cinematic mood. This phase is best executed in Lightroom Mobile, often utilizing specialized DNG presets.
- High Contrast & Clarity: Start in the Light panel. Increase Contrast and Clarity significantly to maximize the separation between light and shadow. Use a gentle Vignette to draw focus to the subject.
- The Blue/Cyan Tonal Shift: This is the heart of the Nagpuri look.
- In the Color Mixer (HSL), target the Blue and Cyan channels.
- Drastically reduce the Luminance of these colors to make the background shadows deep and moody.
- Slightly shift the Hue of the Blues towards Teal or Purple for a richer, more complex tone.
- Green Desaturation/Shift: Target the Green channel. Either reduce its Saturation or shift its Hue toward a muted, deep olive or lime green. This prevents the greens in the CB Background from overpowering the subject.
- Skin Pop: Use the Orange and Red channels to slightly increase the Luminance of the subject’s skin tone, making them “pop” against the dark, moody background.
- Final Touches: Use the Split Toning or Color Grading tool to inject a deep blue/cyan tone into the shadows and a warm yellow/orange into the highlights, finalizing the signature cinematic contrast.
SEO Strategy for Viral CB Nagpuri Edits
To ensure your tutorials and finished CB Background Nagpuri Photo Editing creations rank high and go viral, a strong SEO strategy is paramount.
- Primary Keyword: CB Background Nagpuri Photo Editing (Use in Title, Headings, and Description).
- Secondary Keywords (Long-tail): Nagpuri style editing, CB photo editing preset download, PicsArt CB background change, Lightroom Nagpuri preset 4K.
- Resource Sharing: Use your articles and videos to link directly to essential free resources, such as CB Nagpuri Backgrounds PNG and Lightroom Nagpuri Presets (DNG). Keywords like “Download Free” and “One Click Edit” are highly effective.
- Platform Specific Tags: On YouTube, include tags like #CBPicArtEditing, #NagpuriEditingTutorial, #TrendingPhotoEdit2025, and #4KEditing.
Conclusion
Mastering CB Background Nagpuri Photo Editing is about embracing a multi-layered process that combines high-definition background manipulation with a powerful, cinematic color grade. It demands precision in blending (PicsArt/Hypic), meticulous detail enhancement (Snapseed/Remini), and expert color control (Lightroom). By focusing on these three core phases and utilizing targeted SEO keywords, any digital creator can replicate this viral trend, transforming their everyday photos into high-impact, professional-looking images that are guaranteed to capture attention and achieve digital stardom. This style is not just an edit; it’s a statement—a perfect blend of technical skill and regional aesthetic flair.