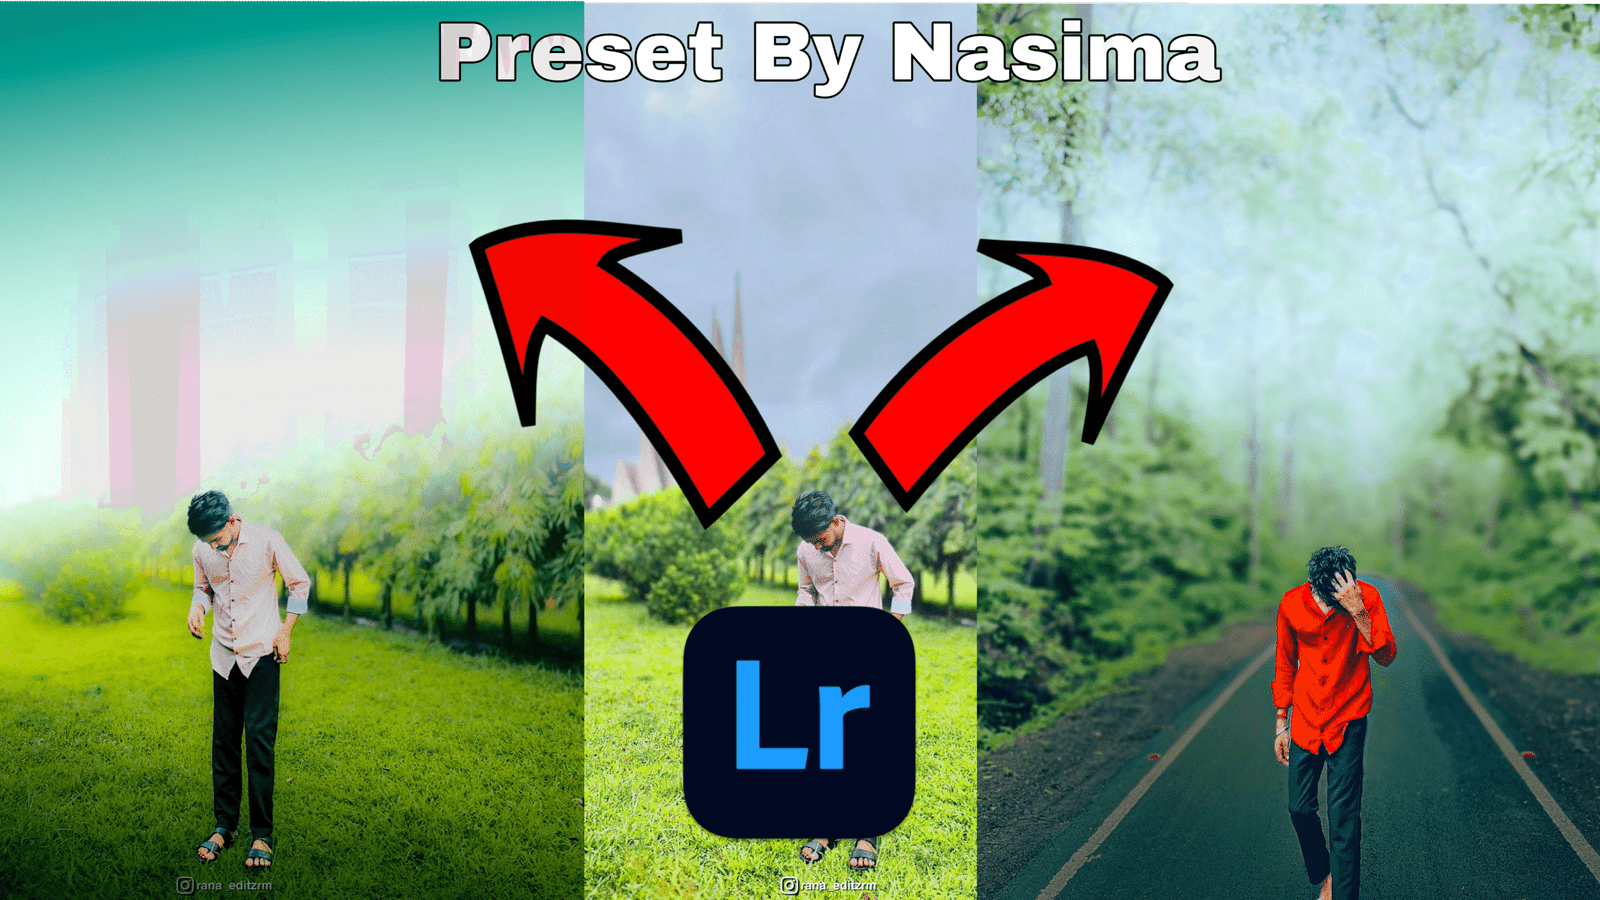
In the vast and dynamic world of digital photography, the journey from capture to captivating image often relies heavily on the power of post-processing. At the forefront of this digital darkroom revolution stands Adobe Lightroom, a powerhouse software specifically designed to empower photographers with unparalleled control over their images. Lightroom photo editing is not just about making pictures “look good”; it’s about refining vision, correcting imperfections, enhancing mood, and bringing out the true potential of every shot.
This comprehensive article will delve deep into the world of Lightroom photo editing, exploring its core functionalities, the benefits it offers to photographers of all levels, essential techniques for transforming your images, and how it seamlessly integrates into a modern photographic workflow.
The Essence of Lightroom Photo Editing
Adobe Lightroom is fundamentally an image organization and manipulation application that operates on a non-destructive editing principle. This means every adjustment you make in Lightroom is recorded as a set of instructions, never altering your original image file. This preserves your raw data and offers immense flexibility, allowing you to revisit and modify any edit at any point without fear of permanent damage to your photo.
Lightroom exists in two primary desktop versions – Lightroom Classic (the traditional, robust desktop-focused application) and Lightroom (the cloud-centric version that syncs across desktop, mobile, and web). Both offer powerful editing capabilities, with the choice often depending on individual workflow preferences and cloud integration needs. The Lightroom app (mobile version) further extends these capabilities to smartphones and tablets, making professional-grade editing accessible anywhere.

Key Pillars of Lightroom Photo Editing
Lightroom’s strength lies in its comprehensive suite of tools, organized intuitively to guide you through the editing process:
1. Basic Adjustments: The Foundation
Every great edit starts here. This panel offers fundamental controls to set the overall tone and exposure of your image:
- Exposure: Brightens or darkens the entire image.
- Contrast: Adjusts the difference between light and dark areas, adding punch or softness.
- Highlights & Shadows: Recover detail in overexposed bright areas or underexposed dark areas.
- Whites & Blacks: Define the absolute white and black points in your image, impacting overall dynamic range.
- Temperature & Tint: Correct white balance by adjusting color temperature (cool blues to warm yellows) and tint (green to magenta cast).
- Vibrance & Saturation: Vibrance subtly boosts muted colors without oversaturating skin tones, while Saturation globally intensifies all colors.

2. Tone Curve: Advanced Tonal Control
For granular control over contrast and specific tonal ranges, the Tone Curve is indispensable. You can precisely manipulate the brightness of shadows, midtones, and highlights, or even create artistic effects like a “faded” or “matte” look. It allows for adjustments to individual RGB (Red, Green, Blue) channels for nuanced color shifts.
3. HSL/Color Mixer & Color Grading: Mastering Color
Lightroom offers unparalleled control over color:
- HSL (Hue, Saturation, Luminance): This powerful tool allows you to isolate and adjust individual color ranges. Want to make the reds pop in a sunset, or tone down distracting greens in a portrait? HSL is your go-to.
- Color Grading: This relatively newer tool allows you to add specific color tints to your shadows, midtones, and highlights independently, creating sophisticated color palettes and cinematic looks.
4. Detail Panel: Sharpening and Noise Reduction
Crucial for crisp images:
- Sharpening: Enhances edge definition. Lightroom offers advanced masking controls to apply sharpening only where needed, preventing noise in smooth areas.
- Noise Reduction: Reduces unwanted digital noise (grain) that often appears in low-light photos. Lightroom’s AI-powered Denoise feature takes this to a new level, offering exceptional results.
5. Optics & Geometry: Fixing Lens Imperfections and Perspective
Correcting technical flaws:
- Lens Corrections: Automatically corrects distortions, chromatic aberration, and vignetting introduced by specific camera lenses.
- Geometry/Transform: Straighten skewed lines, correct converging verticals (common in architectural photography), and fix distorted perspectives with powerful Upright tools and manual controls.
6. Local Adjustments (Masking): Precision Editing
This is where Lightroom truly shines, allowing you to make adjustments to specific areas of your photo without affecting the entire image:
- Brush: “Paint” adjustments (e.g., exposure, clarity, sharpness) onto precise areas.
- Radial Gradient: Create elliptical adjustments, perfect for drawing attention to a subject or creating a vignette.
- Linear Gradient: Apply adjustments across a linear fade, ideal for skies, foregrounds, or landscapes.
- AI-Powered Masking (Select Subject, Select Sky, Select People/Objects): Leveraging Adobe Sensei AI, Lightroom can automatically detect and create highly accurate masks for your main subject, the sky, or even specific body parts in portraits. This revolutionary feature saves immense time and enables complex selective edits with a single click.
- Range Masks: Refine local adjustments by targeting specific color or luminosity ranges within your masked area.
7. Healing & Generative Remove: Flawless Retouching
- Healing Brush: Effectively remove small blemishes, dust spots, or minor distractions.
- Generative Remove (AI-powered): A recent groundbreaking addition, this tool leverages generative AI to intelligently remove larger, more complex objects or distractions from your photos, seamlessly filling in the background.
Benefits of Using Lightroom for Photo Editing
- Non-Destructive Editing: Experiment freely, knowing your original image is always safe.
- Streamlined Workflow: Manage, organize, edit, and share all within one integrated ecosystem.
- Batch Editing: Apply edits or presets to multiple images simultaneously, saving immense time.
- Consistency: Achieve a cohesive look across an entire photoshoot or personal portfolio using presets and synced edits.
- RAW File Support: Work with high-quality RAW files, retaining maximum detail and dynamic range for superior edits.
- Cloud Integration: Seamlessly sync your library and edits across desktop, mobile, and web, allowing you to work from anywhere.
- AI-Powered Tools: Leverage artificial intelligence for faster, more precise selections and object removal.
- Community and Learning: Access a vast library of tutorials, presets, and community inspiration directly within the application.
Essential Lightroom Photo Editing Workflow Tips
- Import and Organize: Start by importing your photos. Use keywords, ratings (stars), and flags (pick/reject) to quickly cull and organize your shots.
- Basic Adjustments First: Begin with the Basic panel (Exposure, Contrast, Highlights, Shadows, White Balance) to set your overall foundation.
- Correct Lens & Geometry: Address any lens distortions or crooked lines early in the process.
- Crop for Composition: Refine your composition using the Crop tool.
- Develop Your Style with Presets: Use presets as a starting point. Apply one, then fine-tune the individual sliders to customize the look for your specific image.
- Local Adjustments Last: Once your global edits are done, use masking tools to make precise enhancements to specific areas (e.g., brighten eyes, darken a distracting background, enhance a sky).
- Sharpen and Reduce Noise: Apply these detail-oriented adjustments towards the end of your workflow.
- Export for Purpose: Export your finished images with appropriate settings (file type, resolution, sharpening) for their intended use (web, print, social media).
Lightroom vs. Photoshop: Understanding the Synergy
While both are Adobe products for image manipulation, they serve different purposes. Lightroom is your comprehensive workflow solution for managing and enhancing large volumes of photos. Photoshop is a pixel-level editor for intensive retouching, compositing, and graphic design. Often, photographers start in Lightroom for global and foundational edits, and then move specific images to Photoshop for more intricate, pixel-level work if needed.
Conclusion
Lightroom photo editing is an indispensable skill for any modern photographer. It provides a powerful, intuitive, and non-destructive environment to transform your raw captures into stunning visual narratives. By mastering its core adjustments, leveraging its advanced tools, and adopting an efficient workflow, you can unlock the full potential of your images, cultivate a unique photographic style, and enjoy the creative process from shutter click to final export. Embrace the power of Lightroom, and watch your photography ascend to new heights.


